ALP: Front Sensors install // 12.20.2015Once the interior install was complete, it was time to move on to the front sensors. I dreaded this part a bit because I had heard that it's a pain to get to the place in the car where the cables should be routed through the firewall. After having done it, I agree, but could've made it easier on myself (details below). Three parts for this:
Skip to here to see more of the final results. Routing the cablesThis was the biggest pain, only because you have to get through quite a few things to be able to route the cables from the interior into the engine bay. Location was similar to RS4 and B5 S4 for that matter, but a lot harder to get to.
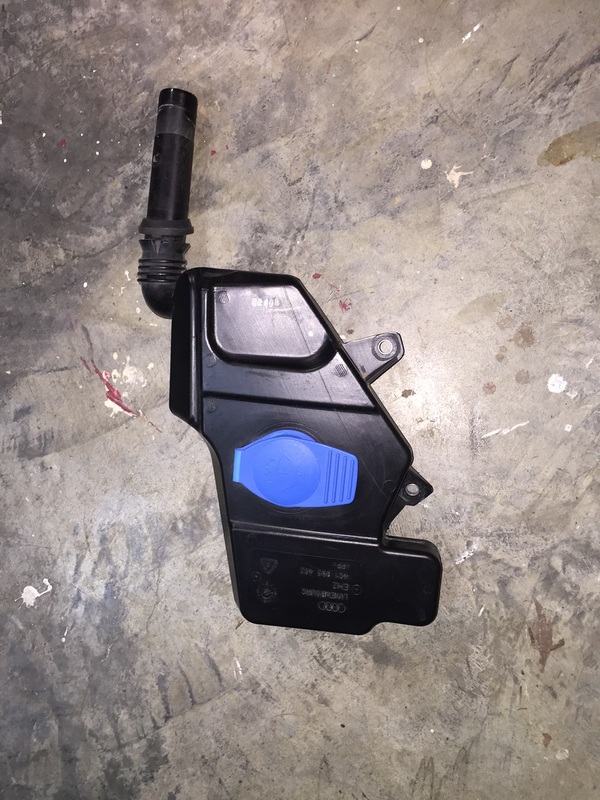
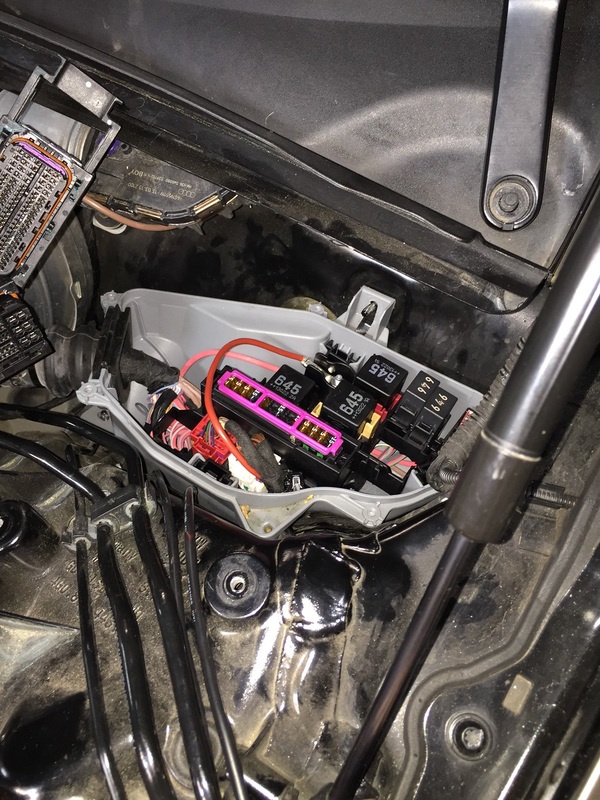
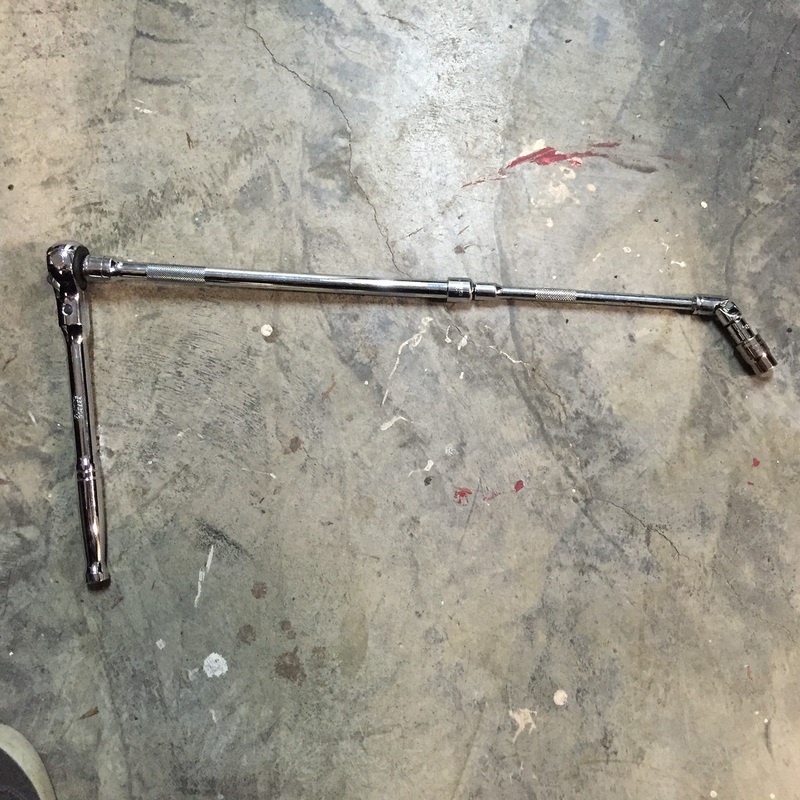
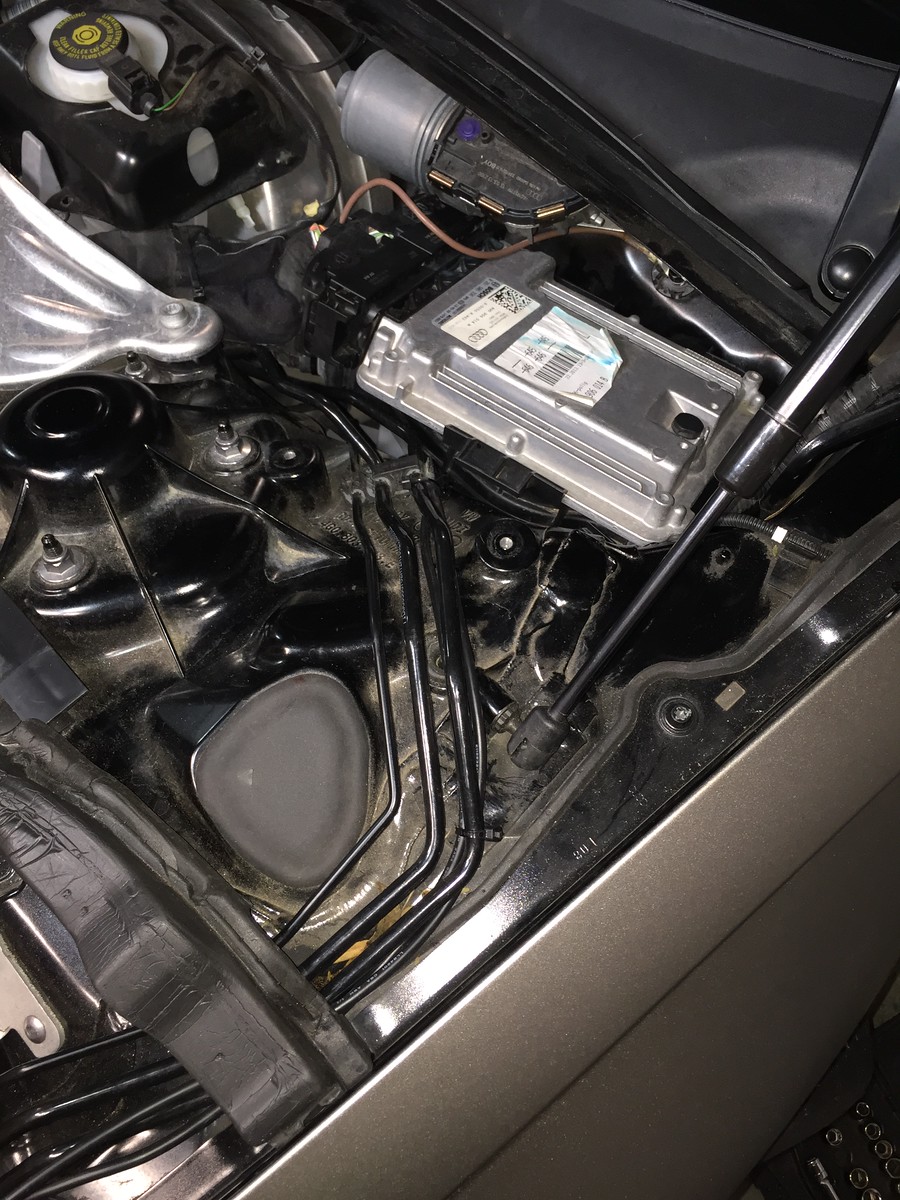
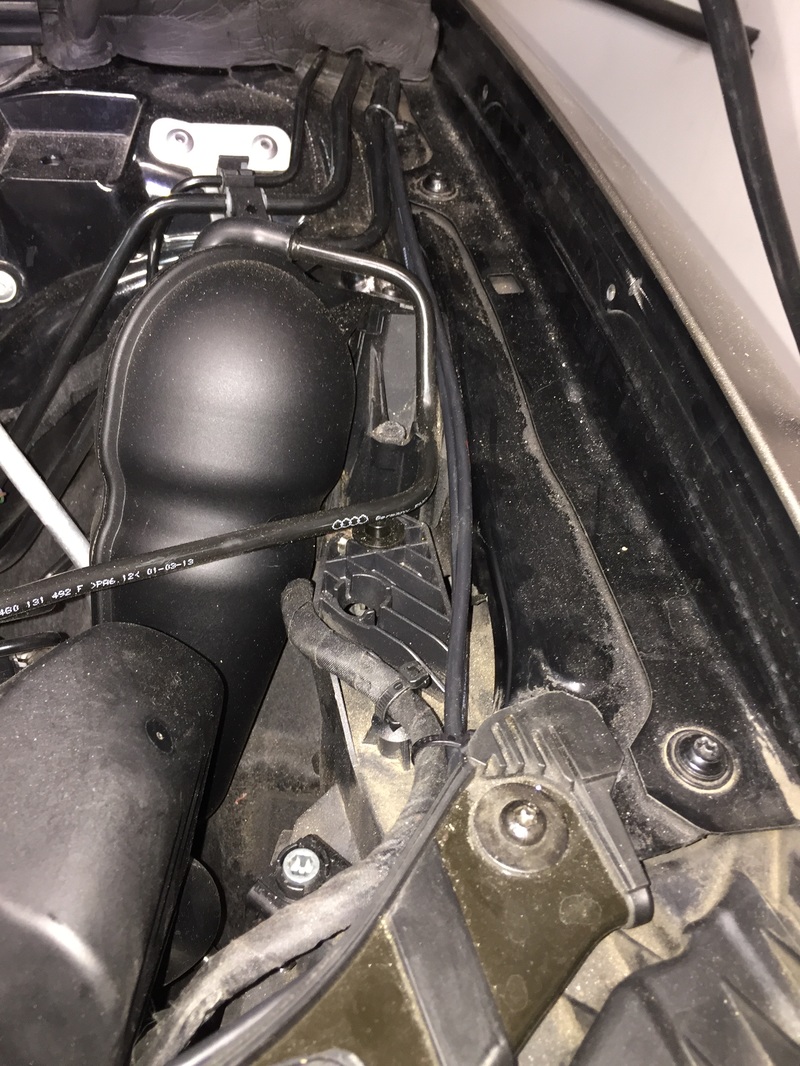
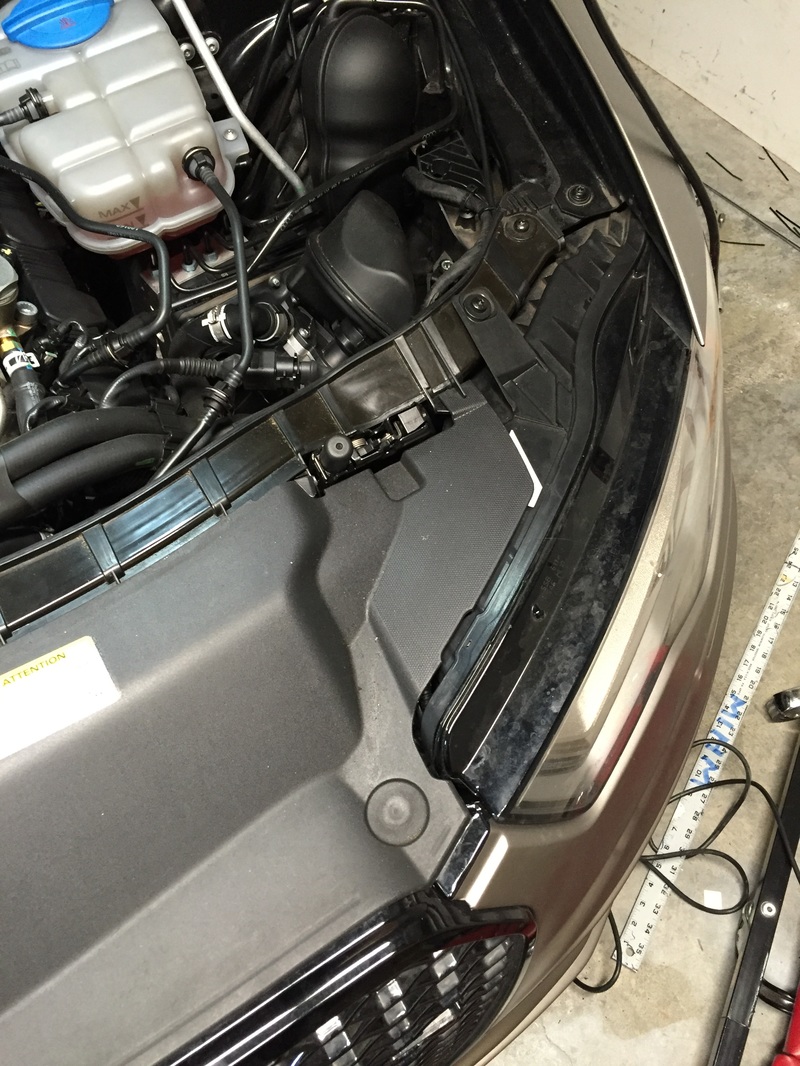
First things first, remove the weather guard to reveal the washer fluid tank. Remove the two screws you can see in the pic below, and then pull it left first then up and out. In that process, you're going to be dumping some washer fluid, so have something to catch it placed right behind the front wheel. With the cover off, you're left with the gray plastic housing which hosts some critical electronics (below left), and which you need to get behind. Here's where life would've been so much easier if I would've just gotten a wiper arm remover. But, since I didn't have one, and I wanted to get it done, I had to work around the back of the grey plastic housing not being able to clear the wiper trim. I needed to twist it to get at it. First in that was getting the far left screw undone. A couple of extensions and swivel head did the trick.
|

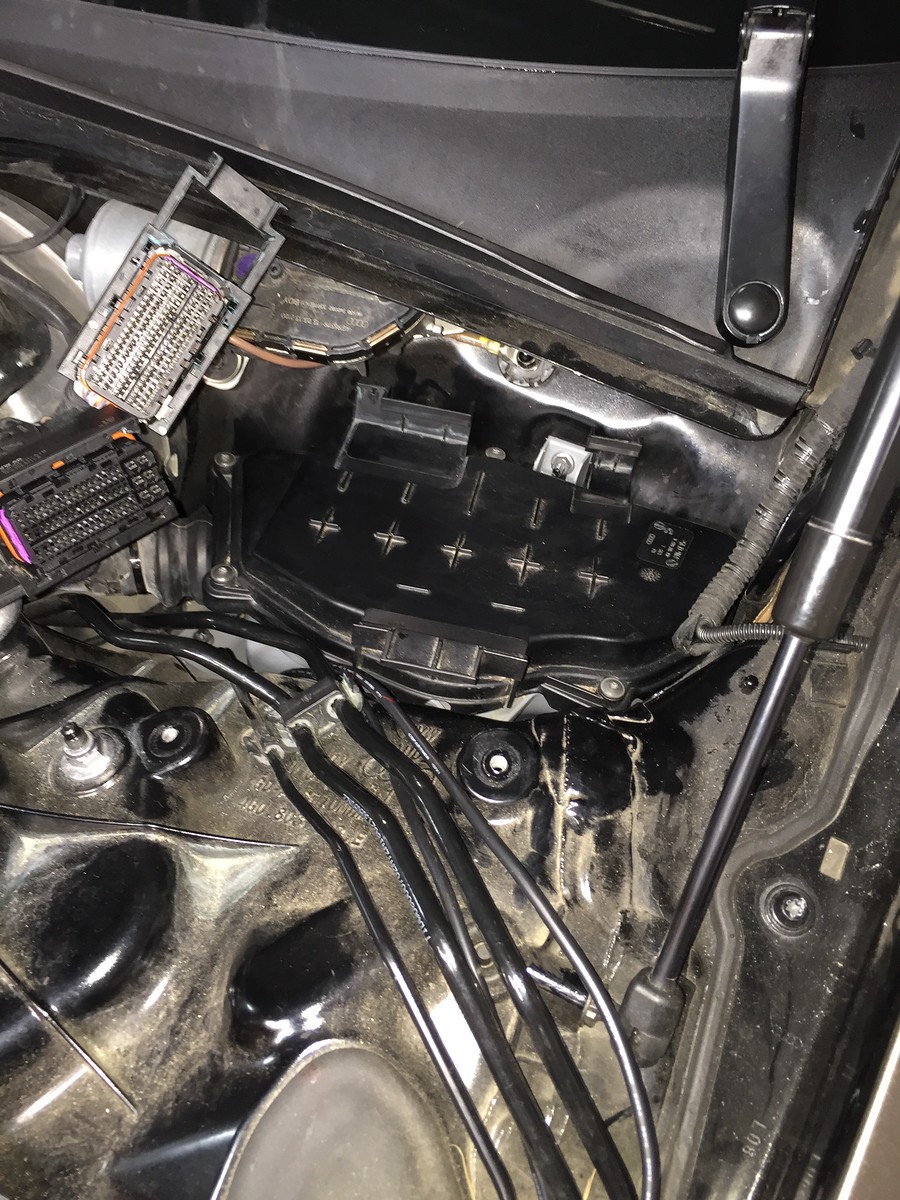
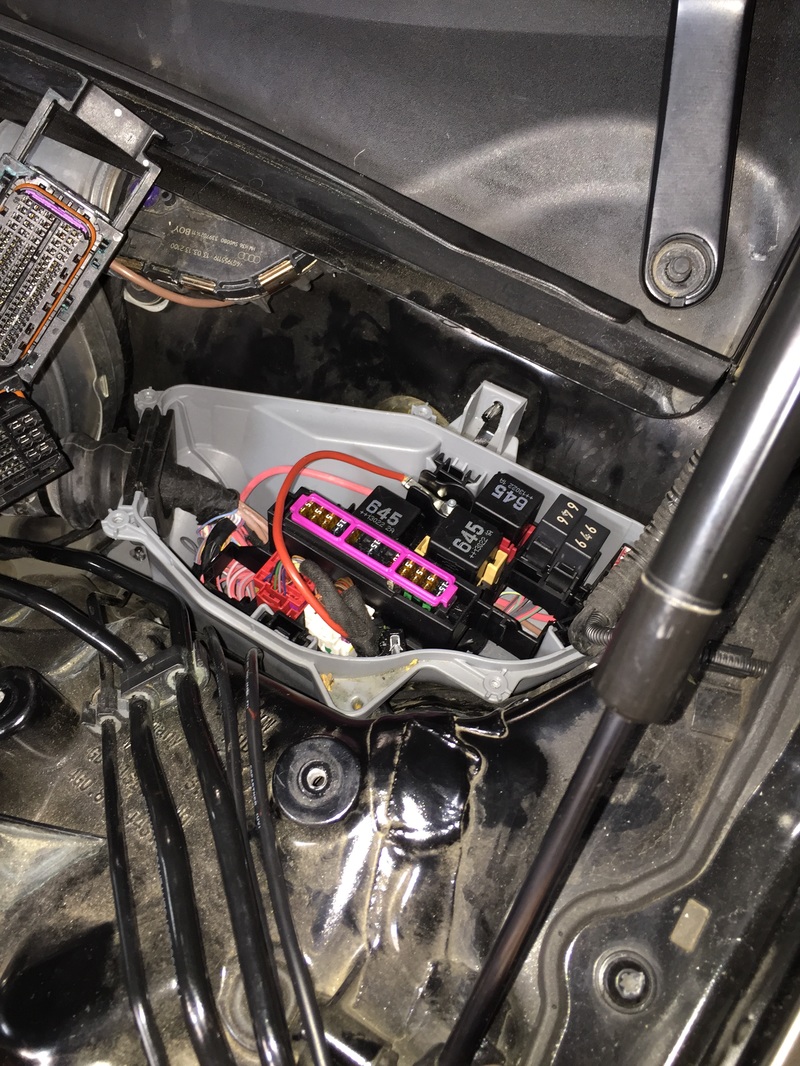
With the washer tank removed, you see the ECU (below left). It's held in by pressure via tabs both in front and behind. I pulled back the front tab just a bit to then pulled the ECU out. Release the cable harness from it and put it aside. Beneath it you see a black plastic cover that has 5 torx screws in it (pic below right, back right corner screw not visible). Remove them and pull off the cover.
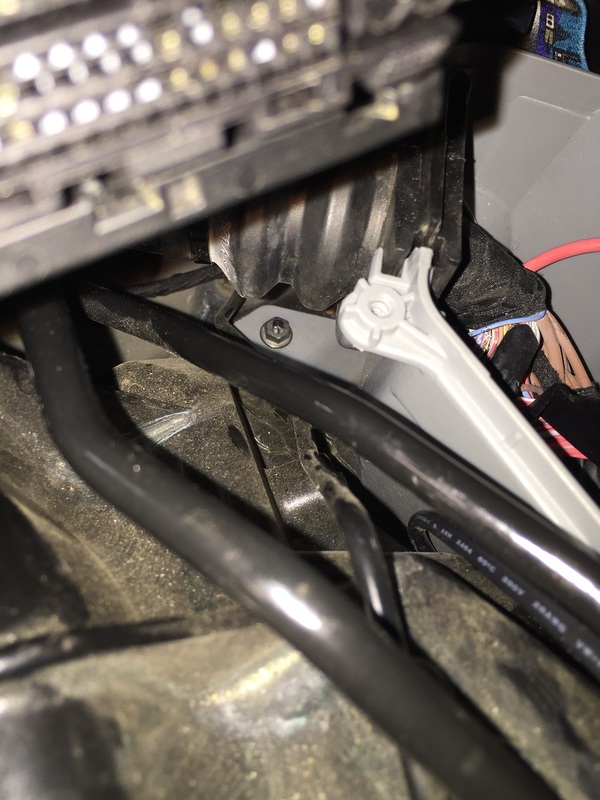
There's another screw that's easily visible, and finally there's a pressure fit front corner piece that you just pull up on. Once those are removed, you need to undo the clip inside of the housing that holds some of the electronics in place (last pic left). I used a screwdriver to pry it up and off. This finally enables you to twist the gray housing enough (tilt it forward towards bumper, to get some small hands in behind it.
|

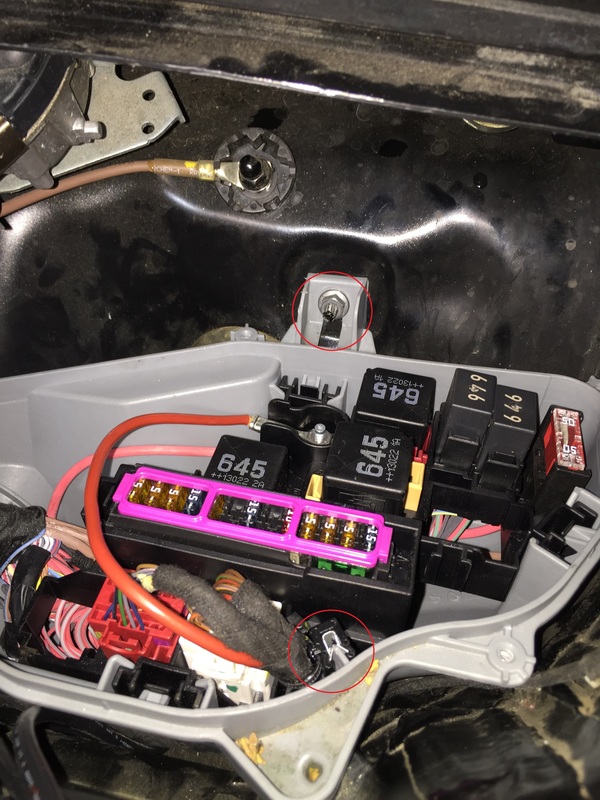
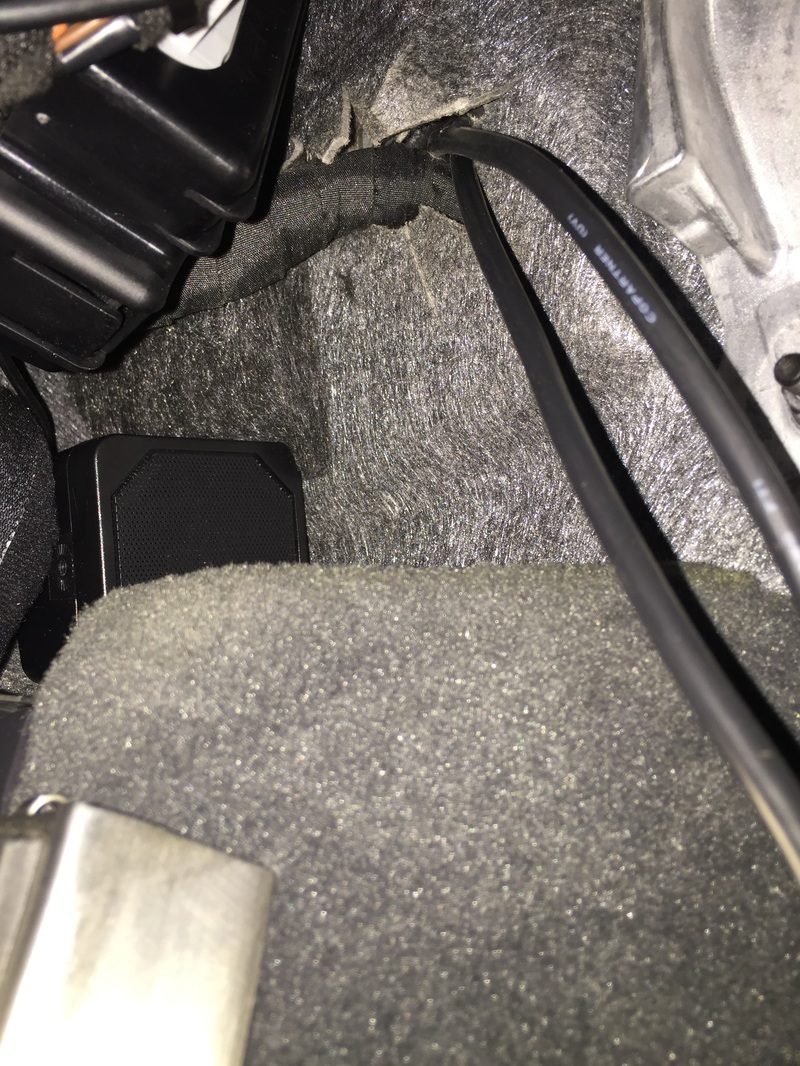
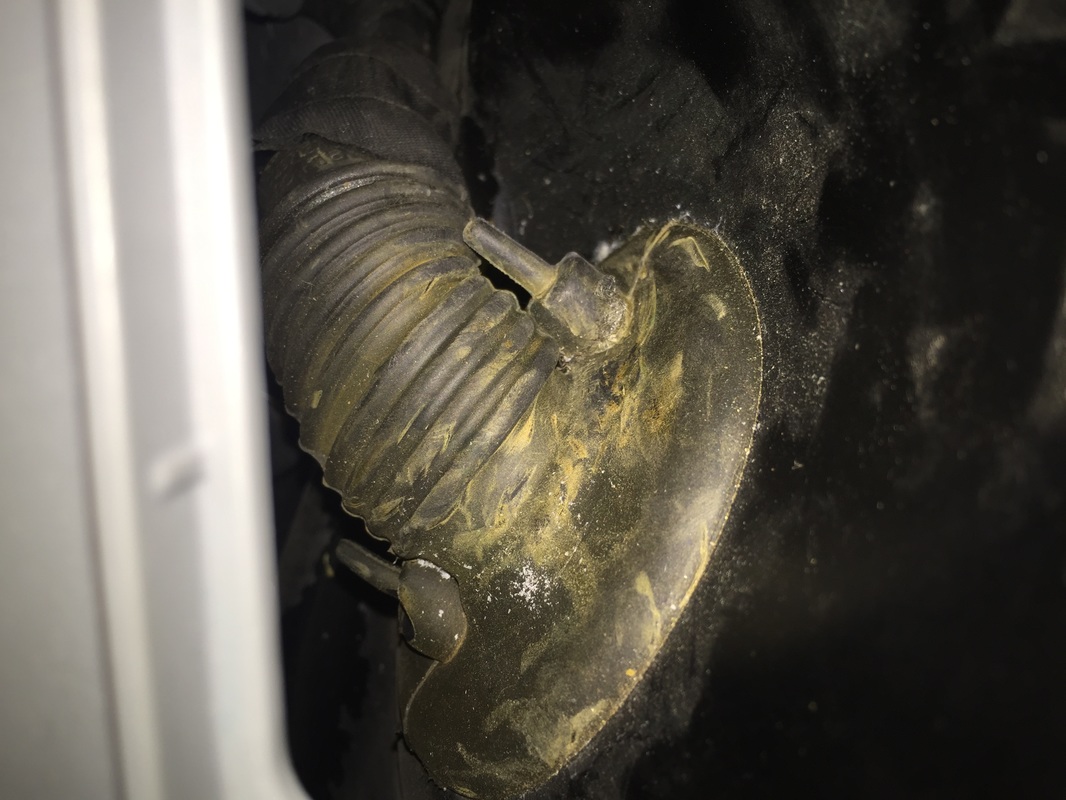
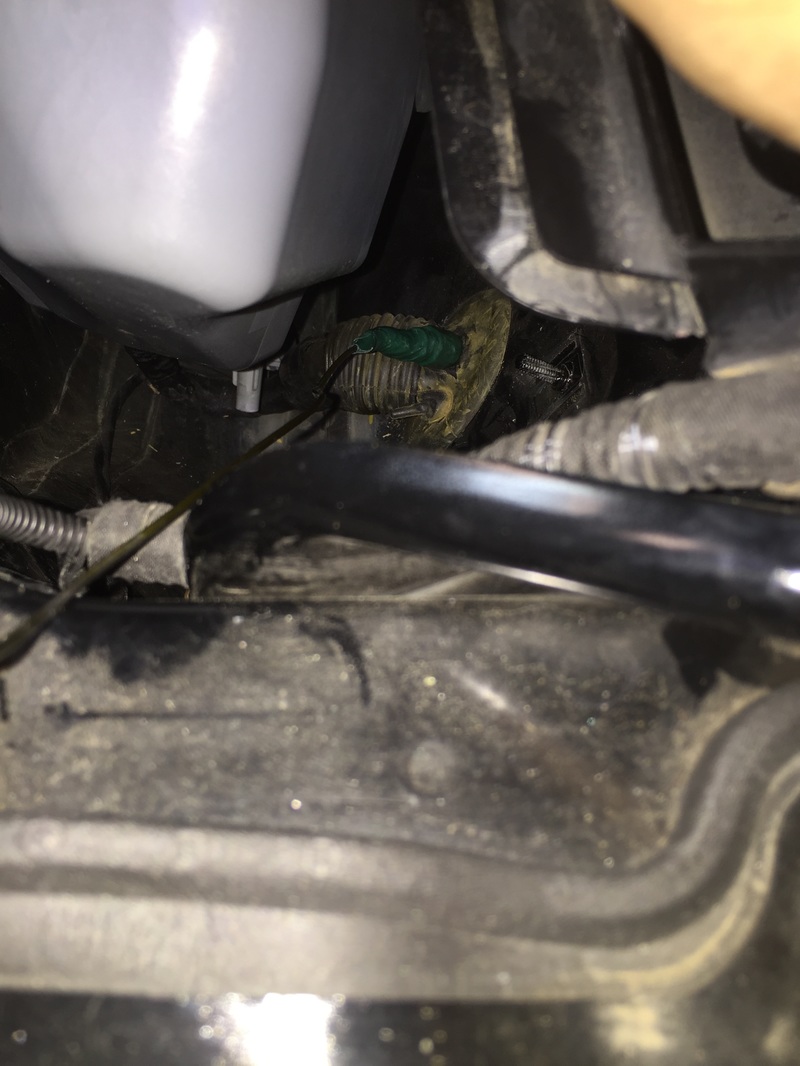
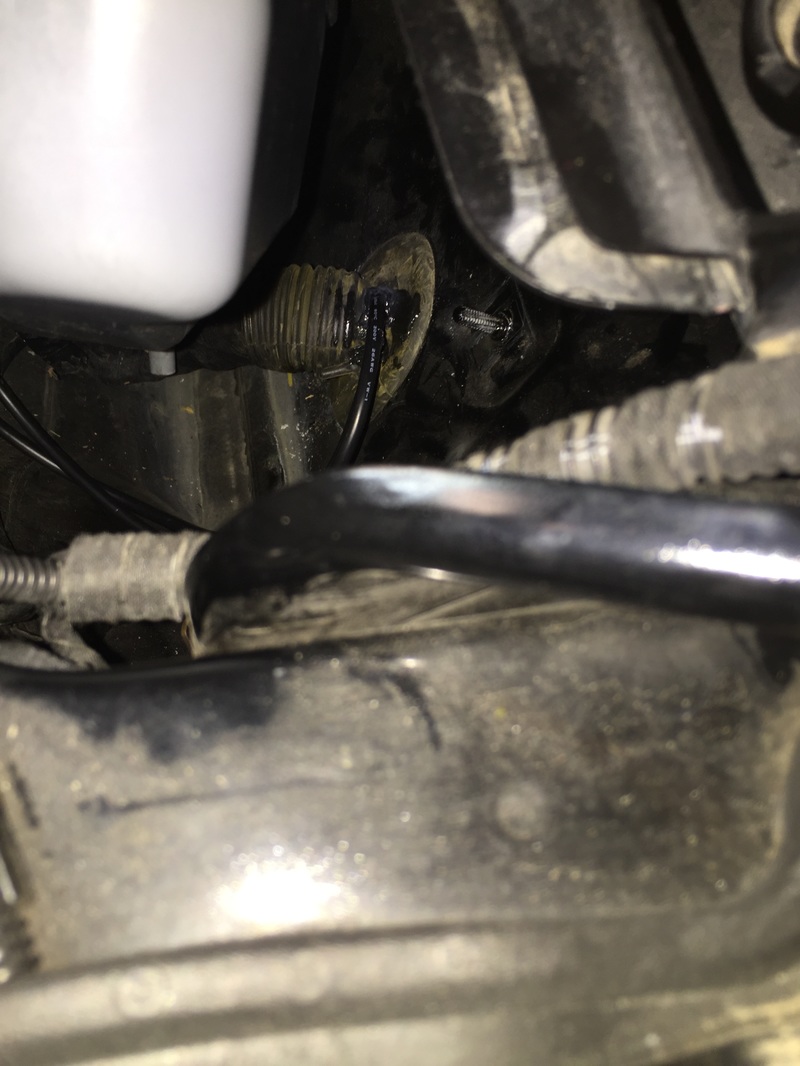
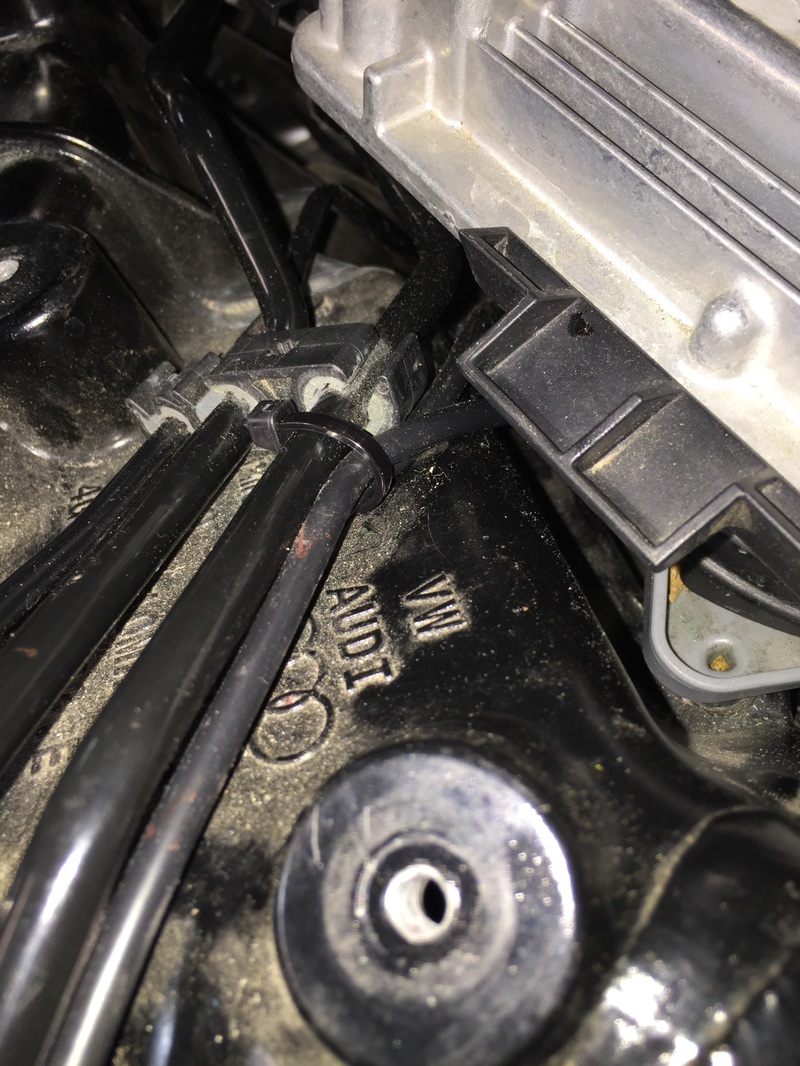
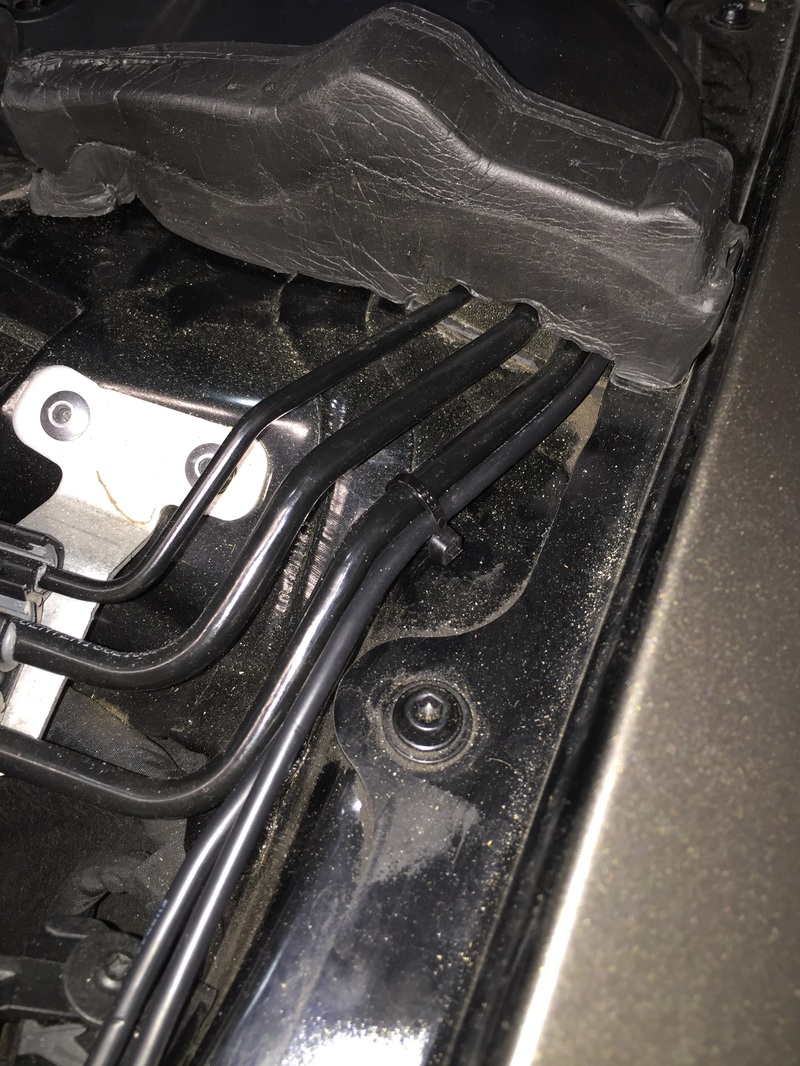
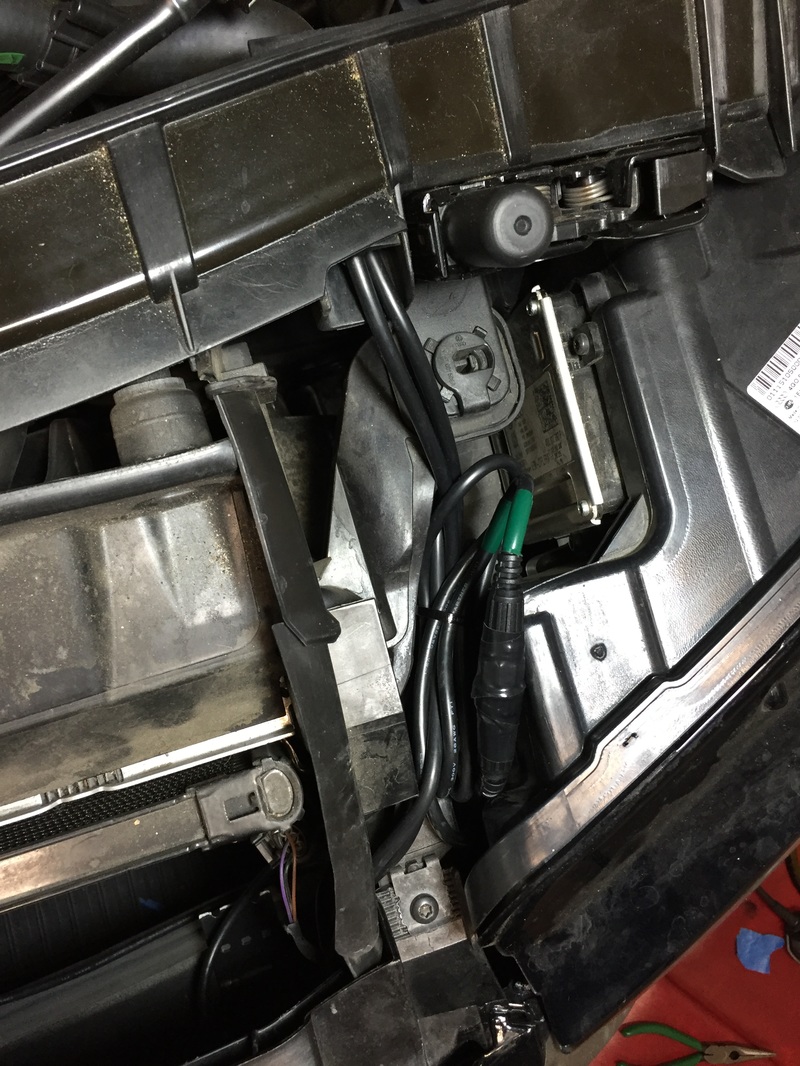
At this point I was finally set to route the cables from the interior of the cabin through the firewall and out towards the grille. I used my standard trick here by using a coat hanger and tightly wrapping the ends of the cable to it. I use a bit of wadded up tape at the end of the connector to 1) protect it a bit, and 2) build up the increase in diameter to make it easier to fit through as small a hole as possible. I started with a fairly blind poke through the grommet from the inside, tried a couple of other pokes, but ended sticking with this one. I had to expand the hole the hanger made just a bit with an exacto knife that I barely got in there since it's such a tight fit, and then was able to one by one pull the cables through. See the gallery below for the various stages of this process.
The easy piece of this part of the install was now all that was left to do as I used wire ties to route the cables towards the front grille.

Cutting the grille
|
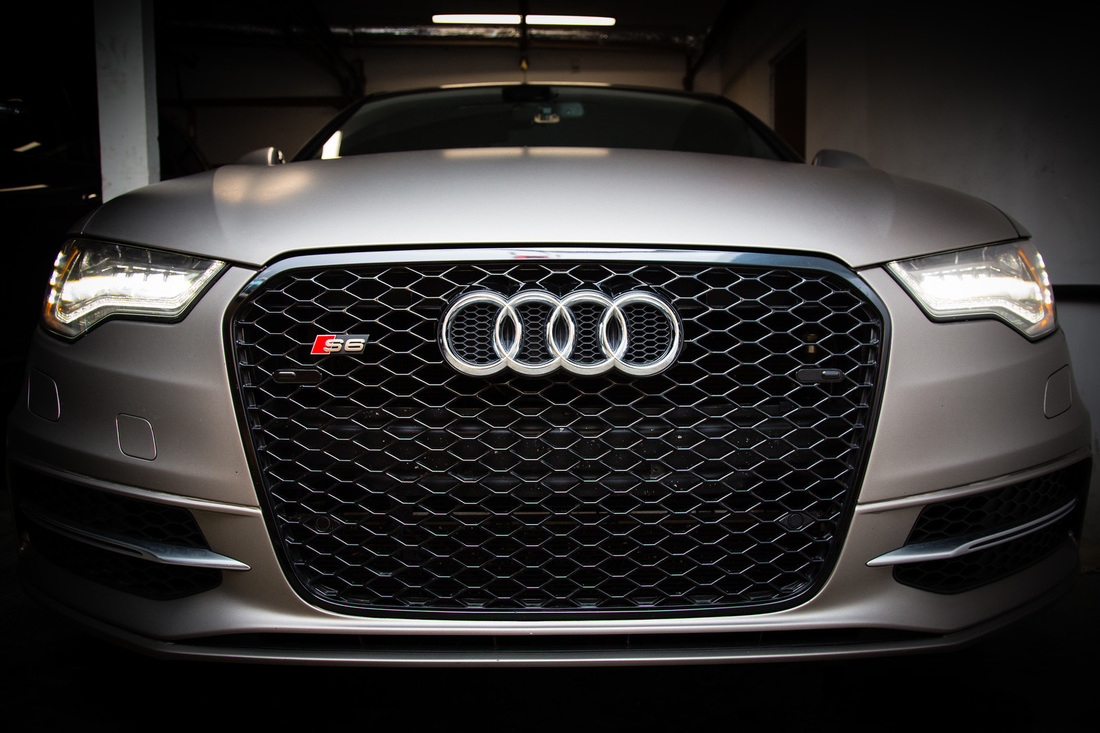
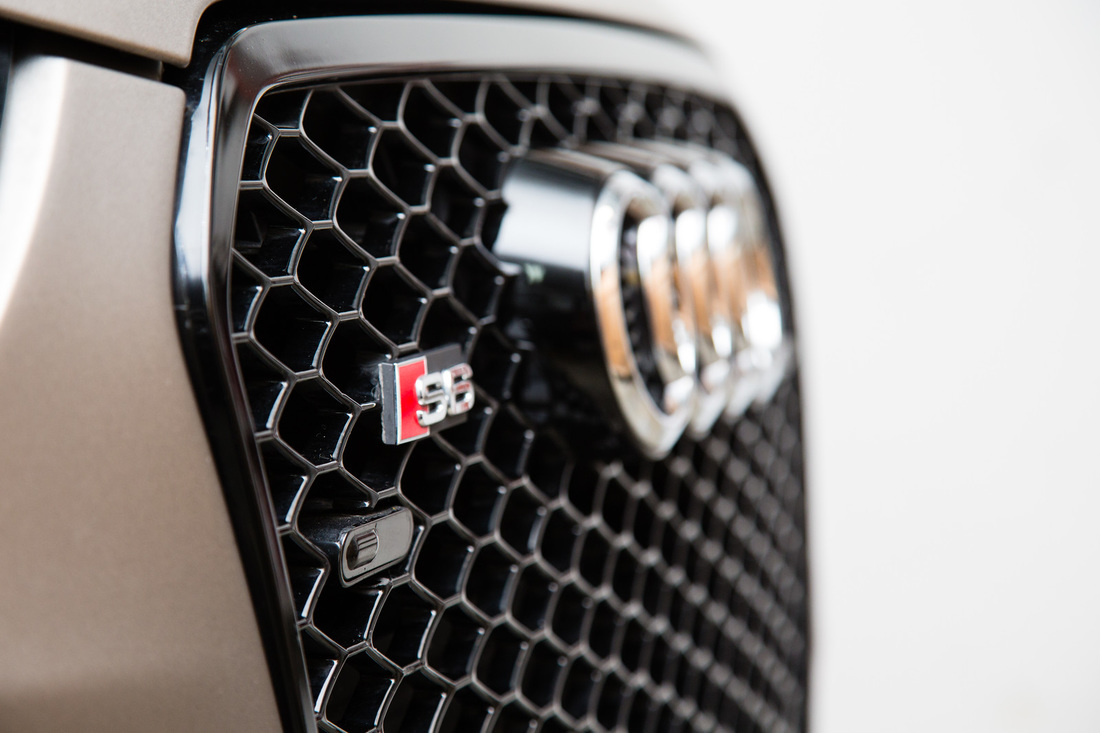
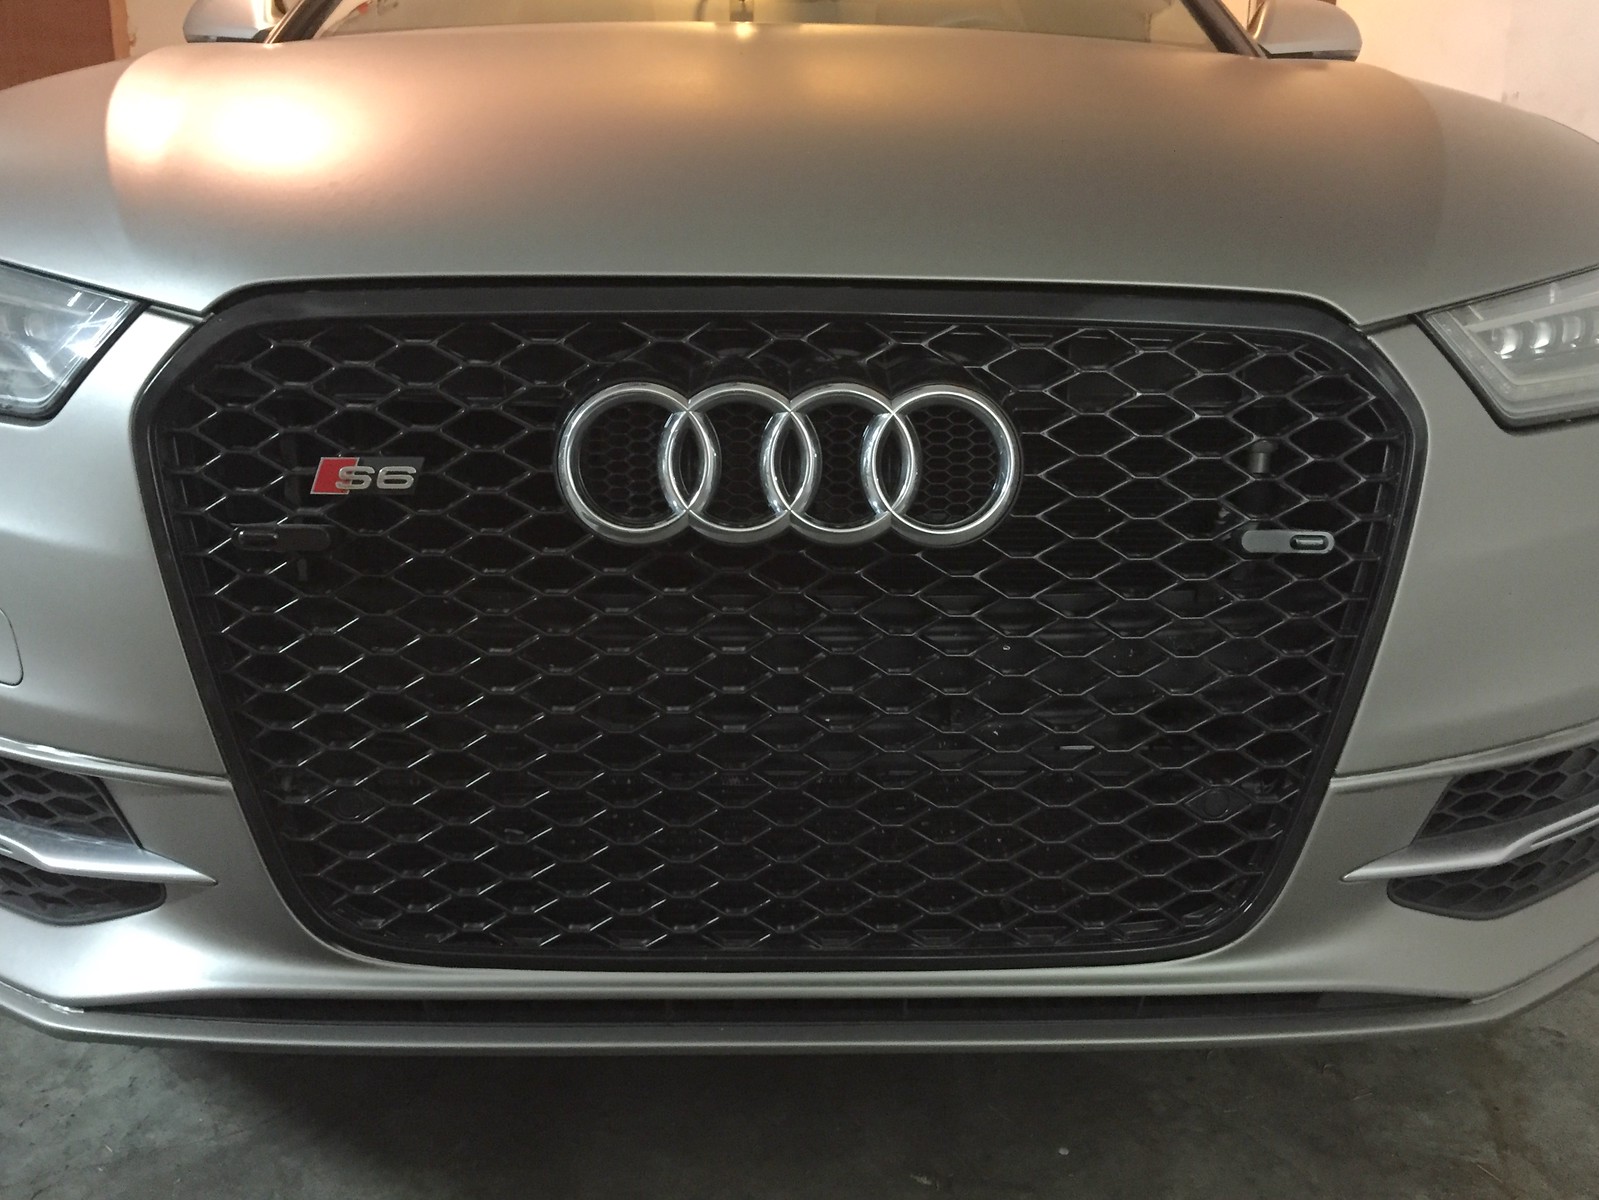
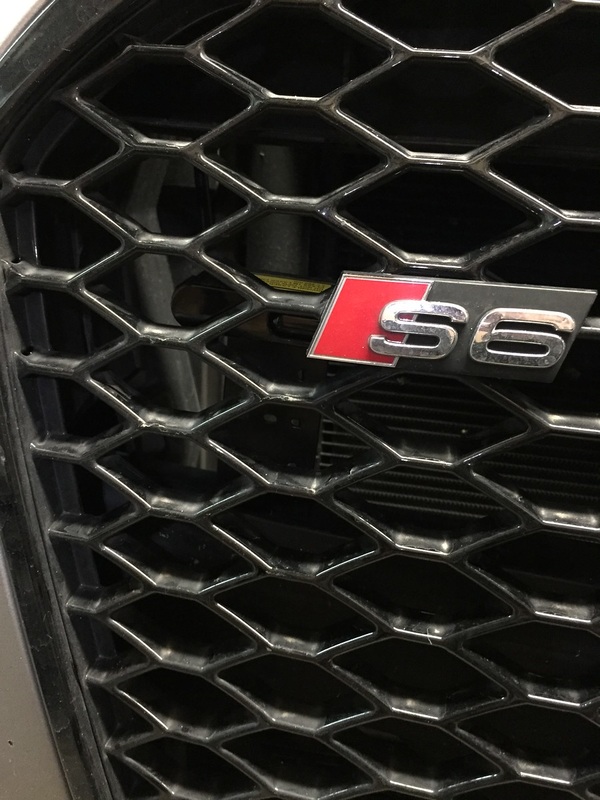
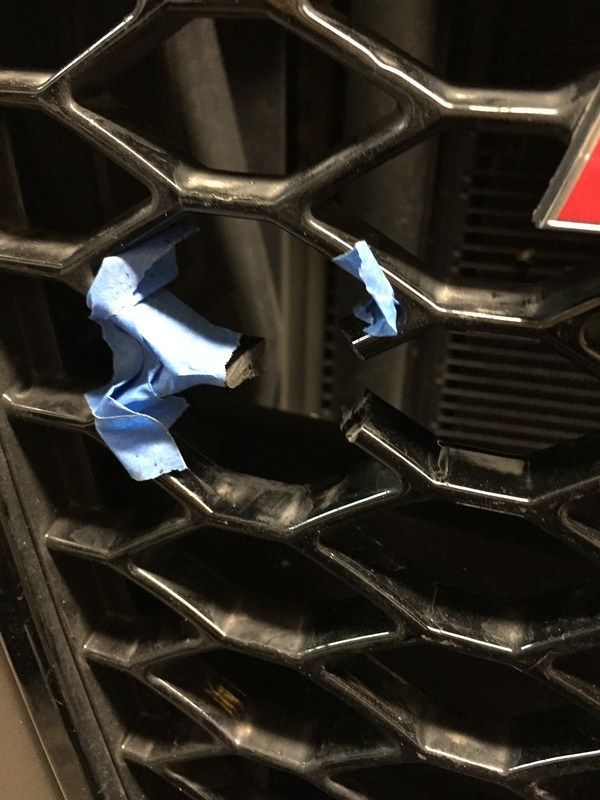
So - where to actually mount these??? A couple things I considered. Ideally, the sensors shouldn't be more than 22" apart to work effectively. With that, they should try and cover the obvious spots on the front of the car: center grille (glad it's not silver re reflectiveness) and the two rather large headlights. After consulting with ALP, the spots below were identified as the likely most effective ones (I mocked the sensors up with tape).
|
The other option would be down by the 'fog light' grilles, which is similar to what I had done on the RS4. I knew, though, that it would be too low and potentially leave me exposed to a lidar gun punch-through. So, on to cutting the grille I went :/
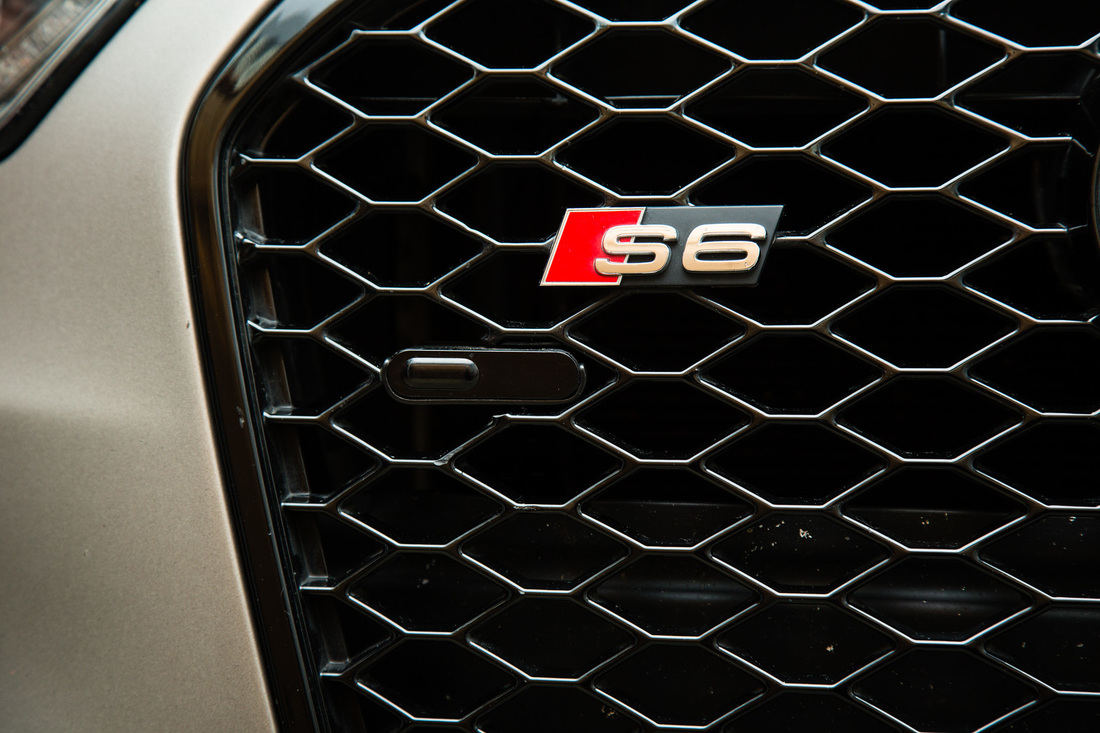
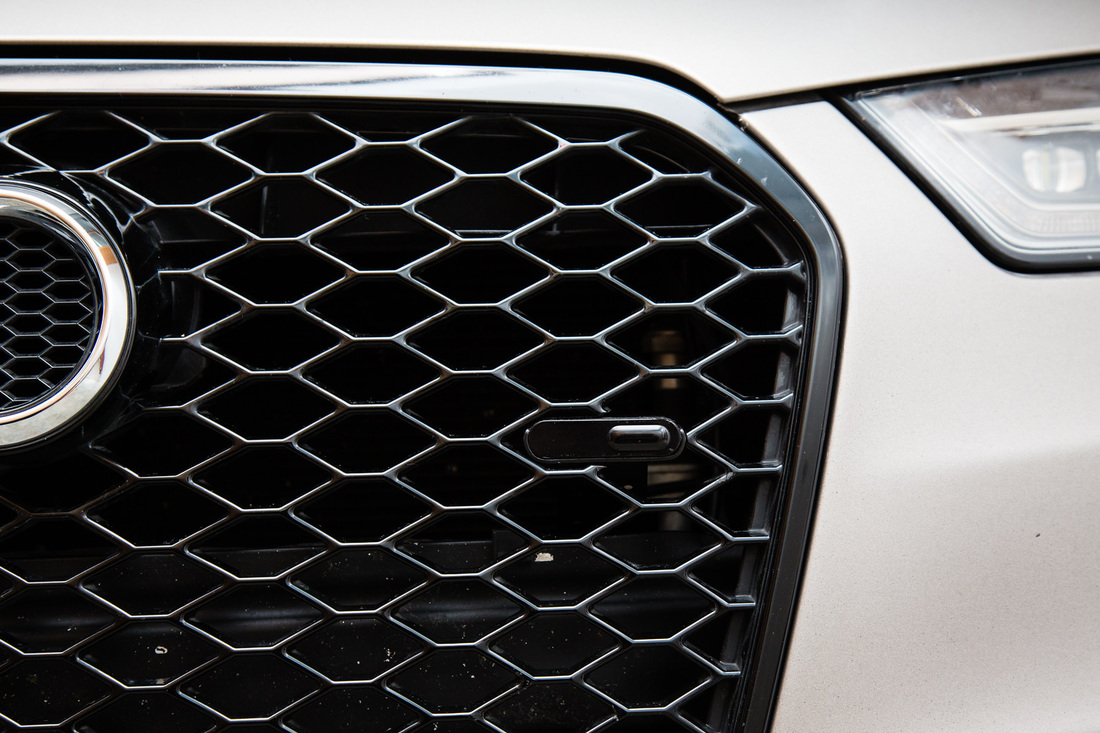
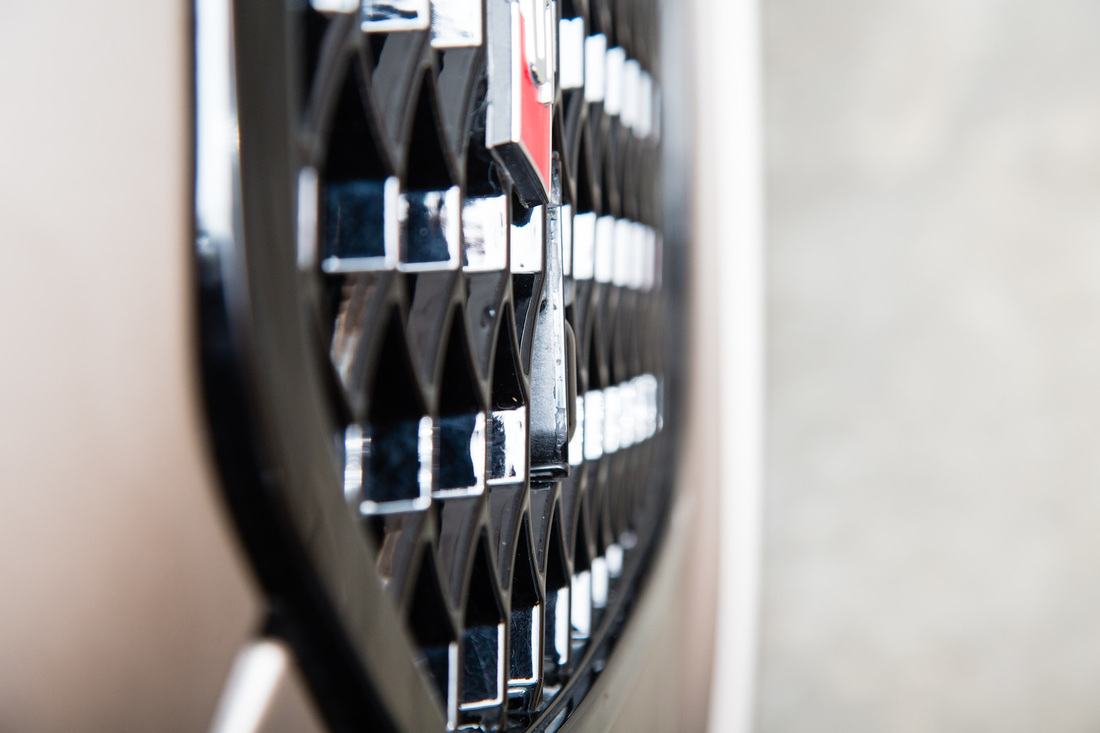
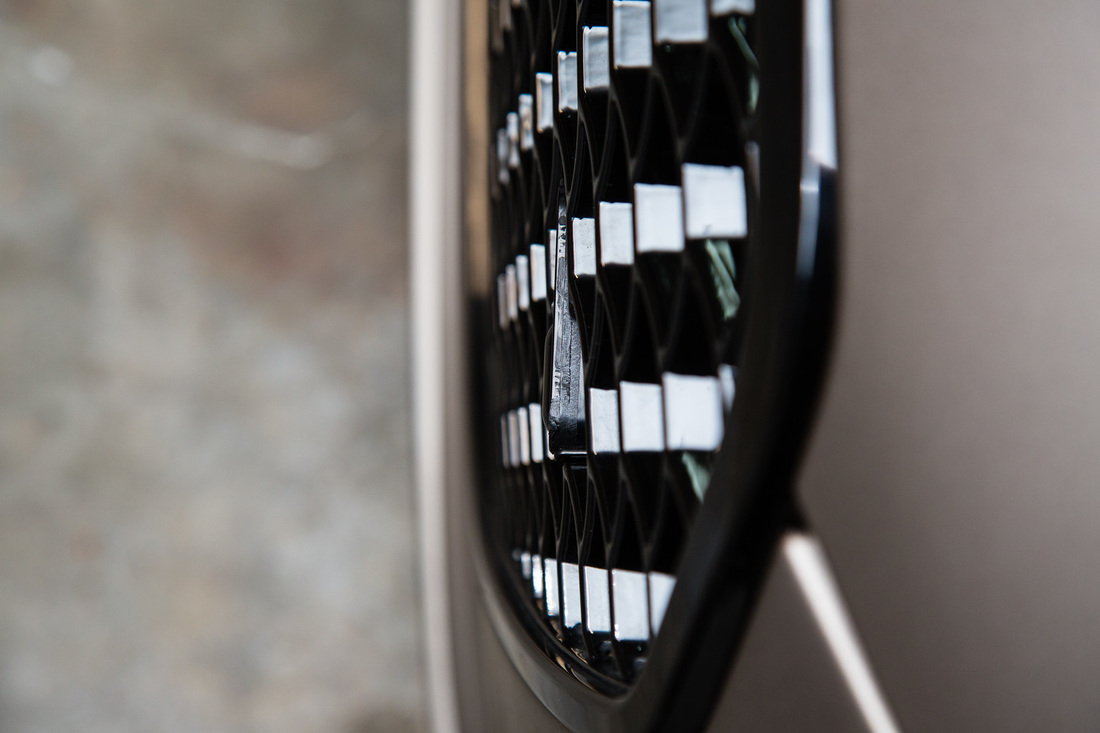
I used a dremel with a simple disc top to carefully cut through at 3 spots. It was rinse and repeat via measure, cut, test fit, identify where I needed more room, dremel, test fit, etc. At first I forgot about the brackets and the extra width/height they add, so took some more aggressive cuts after the first one pictured below. It also took holding the dremel at various angles to get in just the right spot, and at times dragging the wheel across the area to be cut. My only advice: just take your time and it'll work out great. Little by little I got there, realizing I also needed to leave just a bit more space all around for fine tuning the fit. At this time, I hadn't adjusted the brackets yet, so that was next.
|
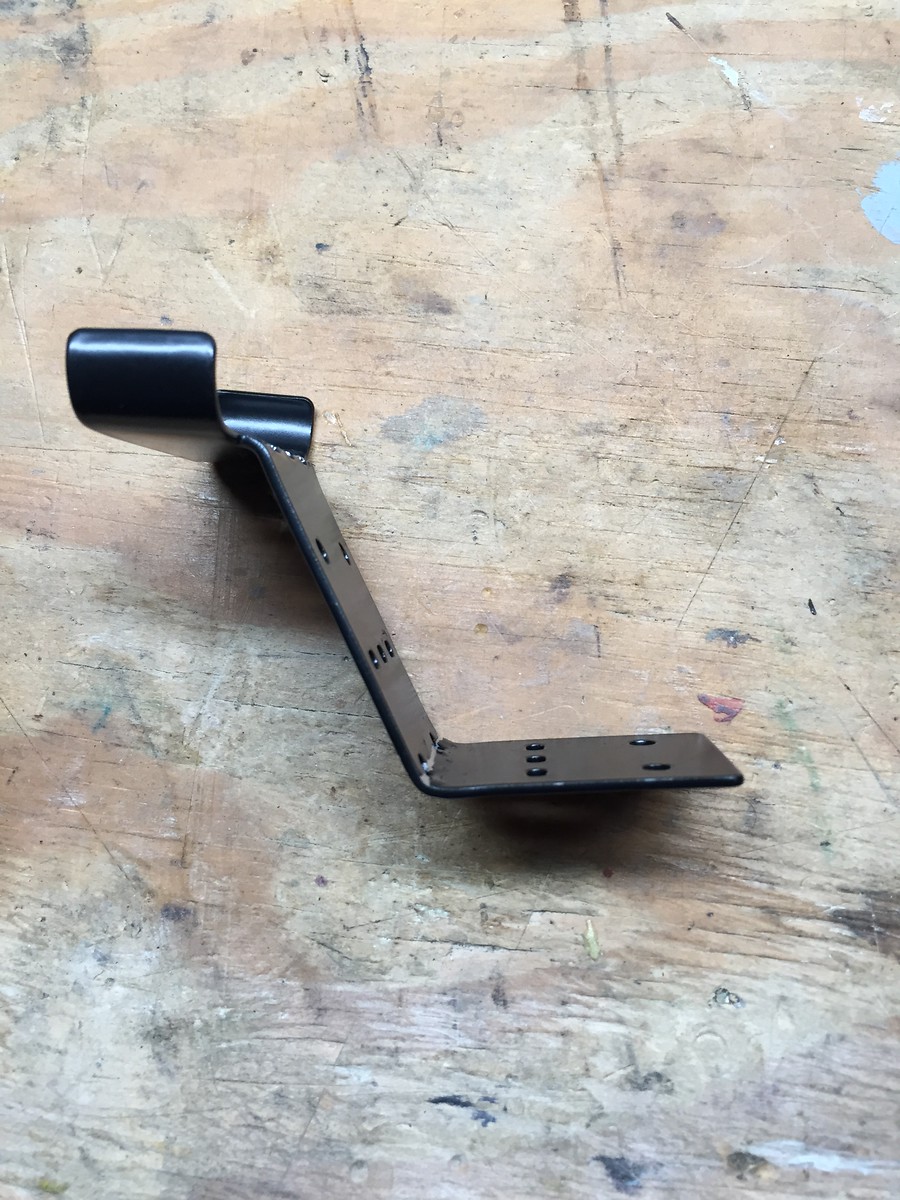
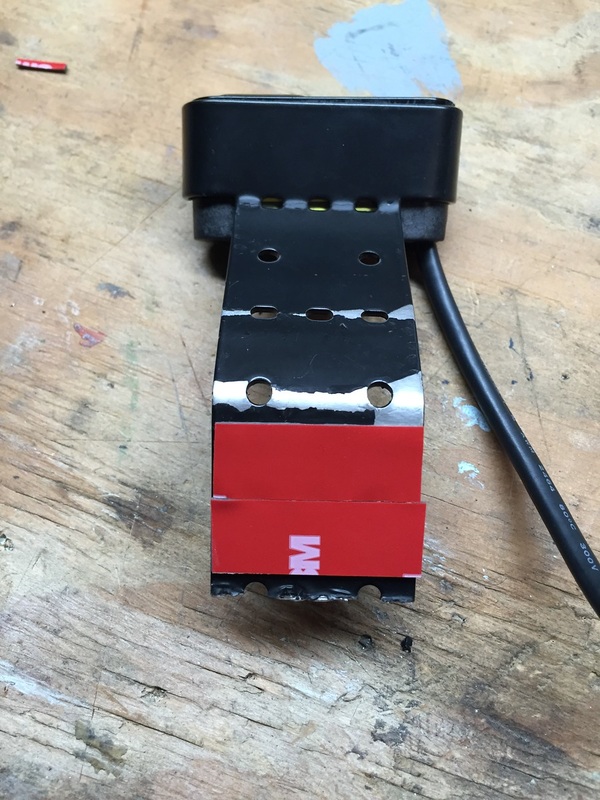
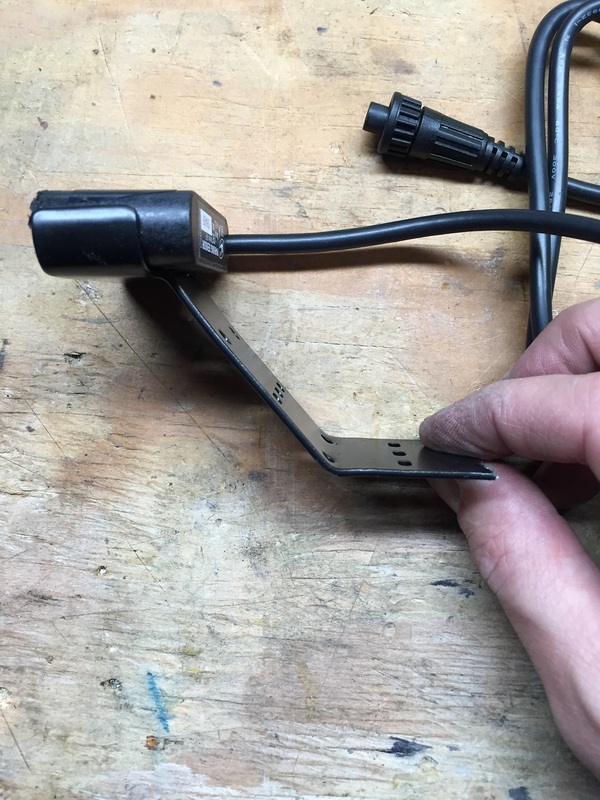
Mounting the sensorsThe crash bar runs behind the grille, just a couple inches below where the sensors should be. I started test bending the supplied brackets, and after some trial and error, came up with this shape for what I needed (see right).
During the bending process, some of the paint peeled, so I put on a couple of coats of spray paint prior to mounting. As you can see below, I used the trusty 3M Automotive double-sided tape for securing the brackets. Ideally I'd have screwed them into place, but this is plenty sturdy. In order to get in behind the grille, I simply removed the top cover. It holds on via two small clamps which you just pry up with a small screw driver, then remove. After that, I also removed the air intake to better get at the passenger side area. (pictures to follow)
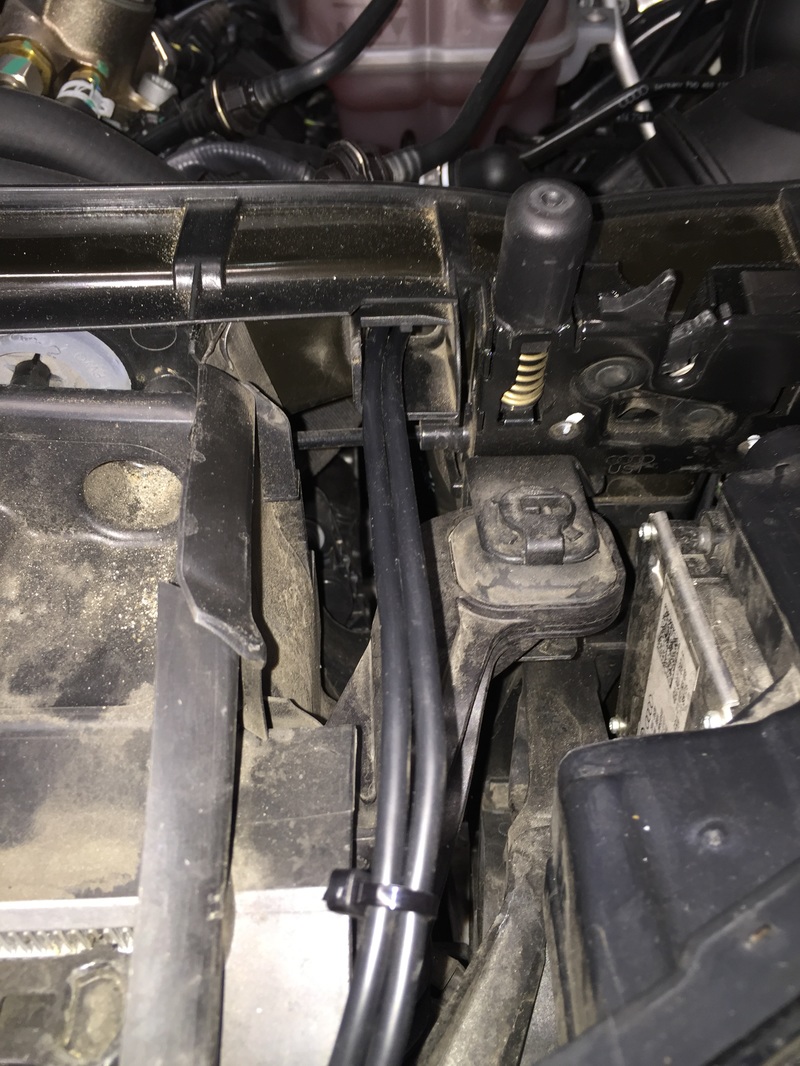
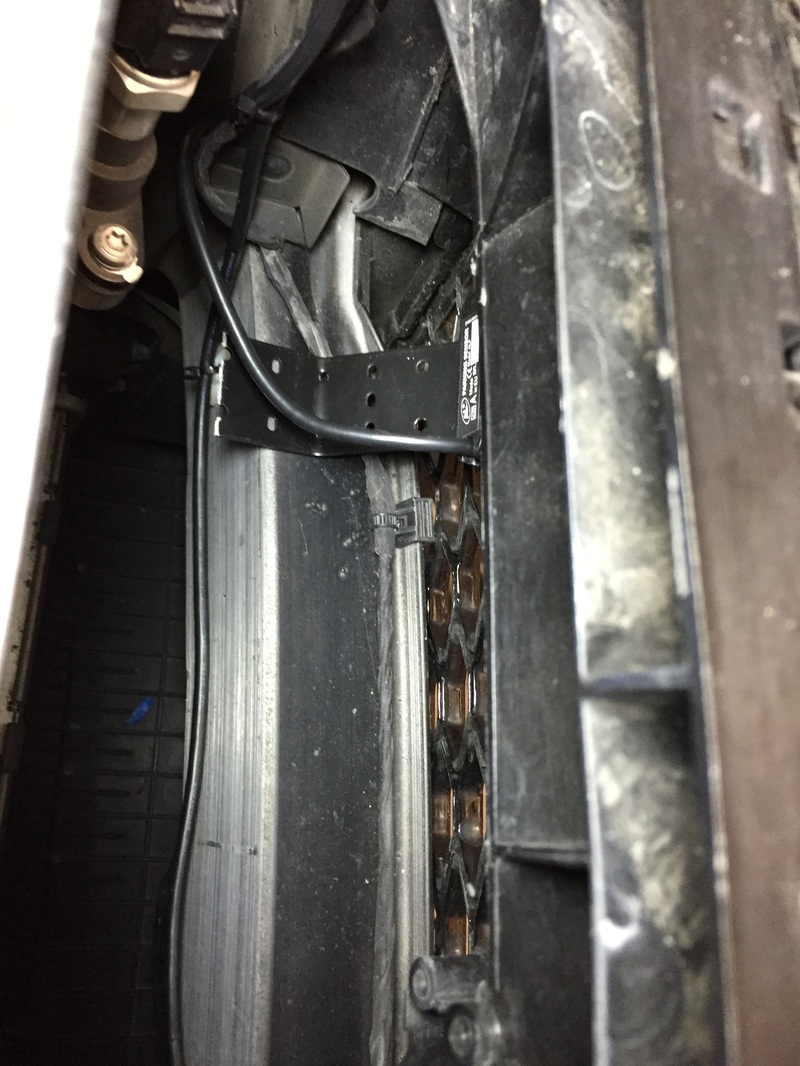
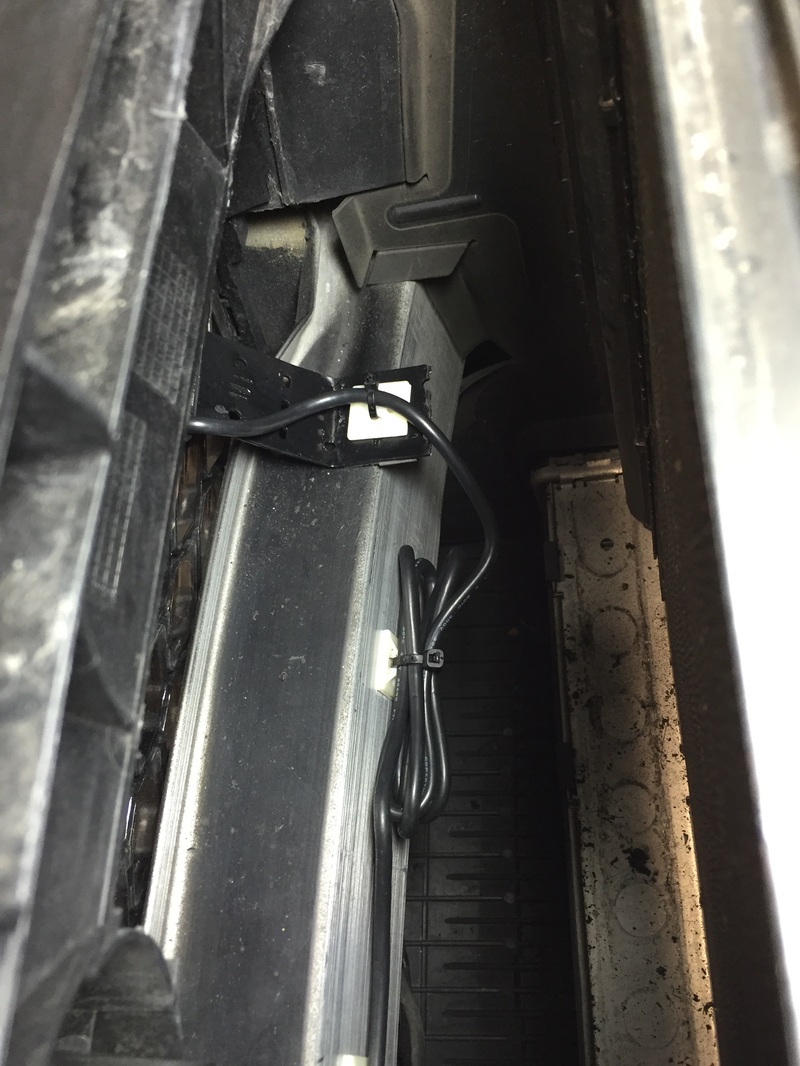
I decided to secure the cable running to passenger side via standard 'cable tie mounts' to the back of the crash bar, and also made sure that I could relatively easily get to the connectors for the sensors. |
Initial bend, needed to be modified.
|


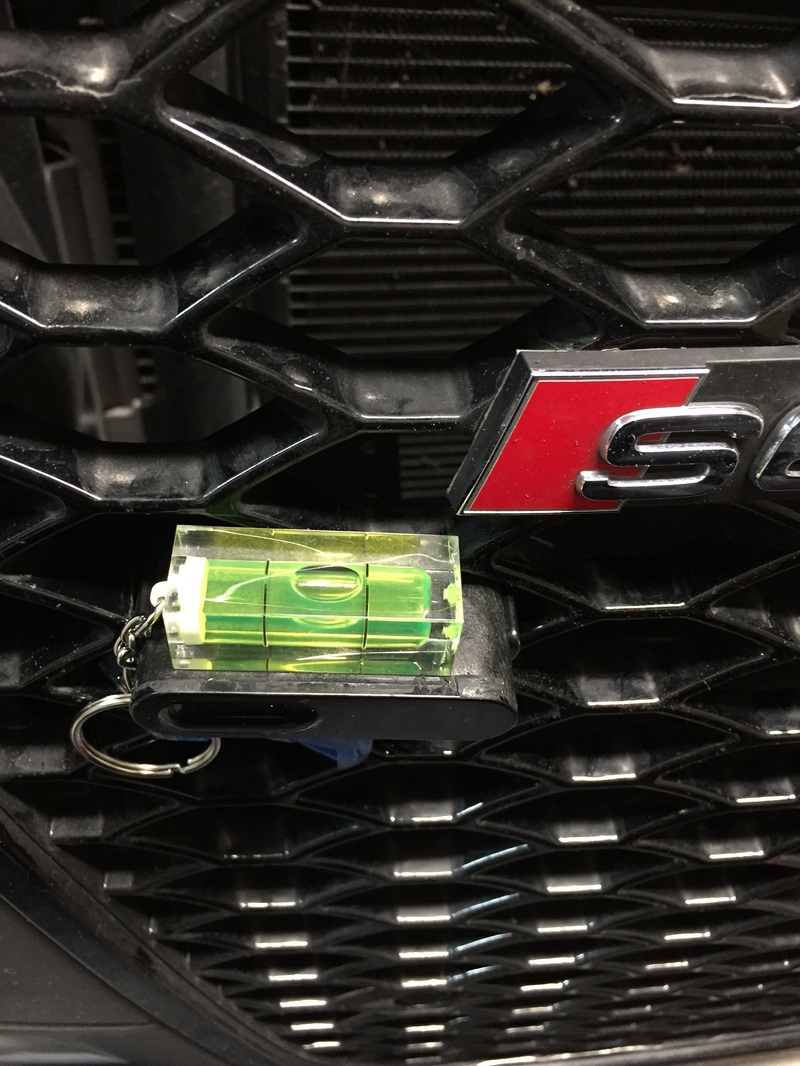
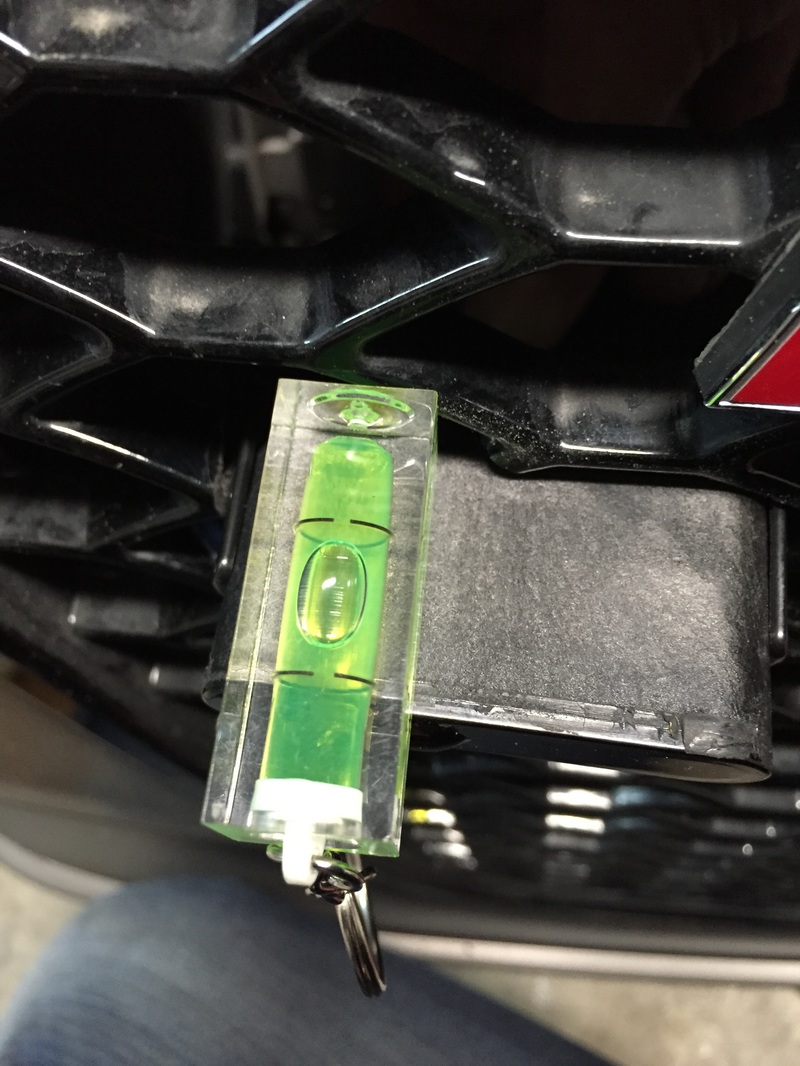
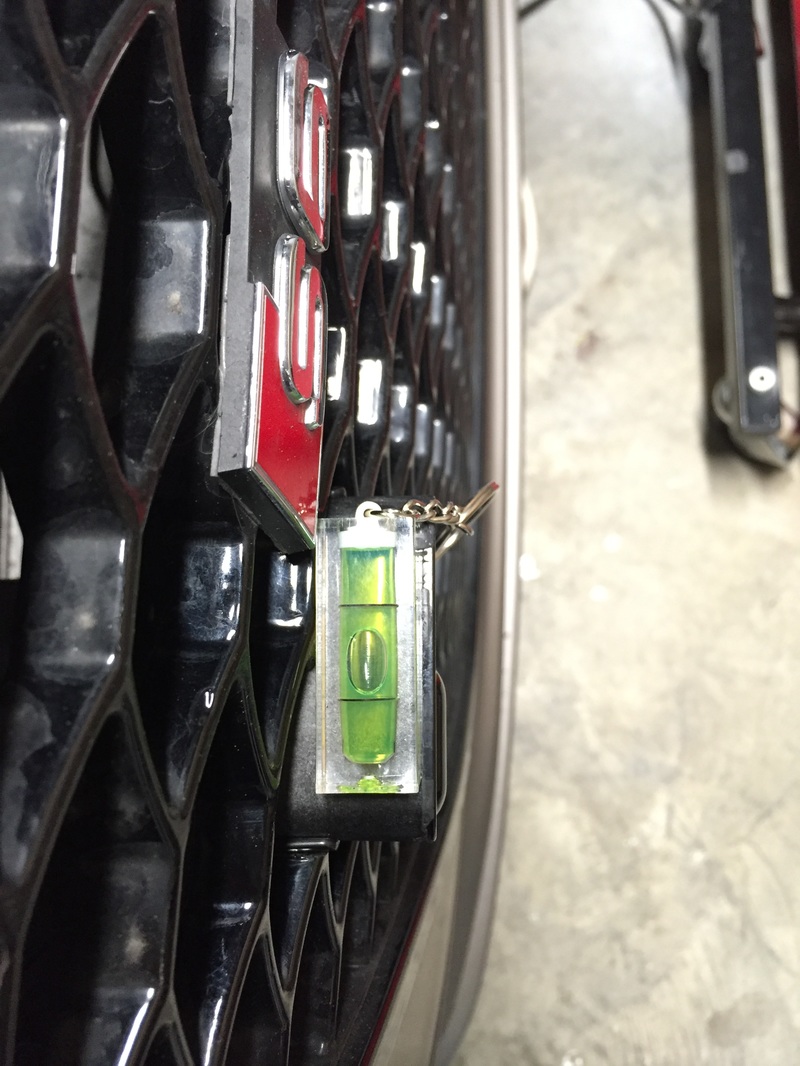
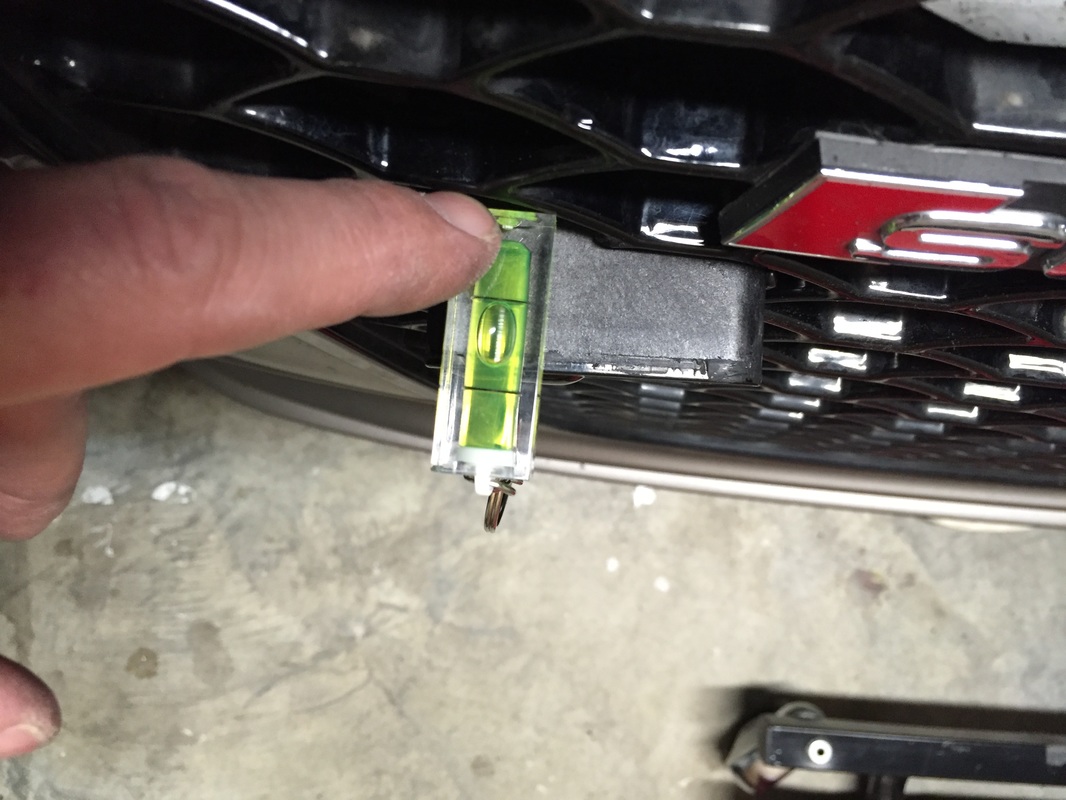
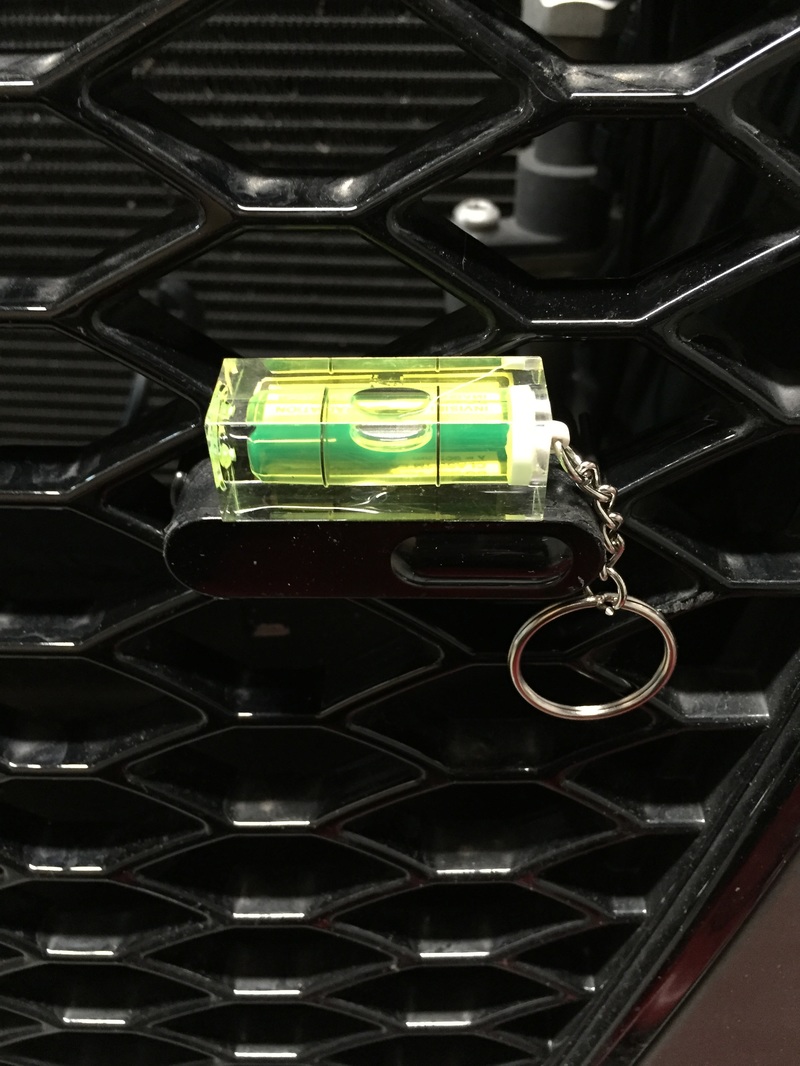
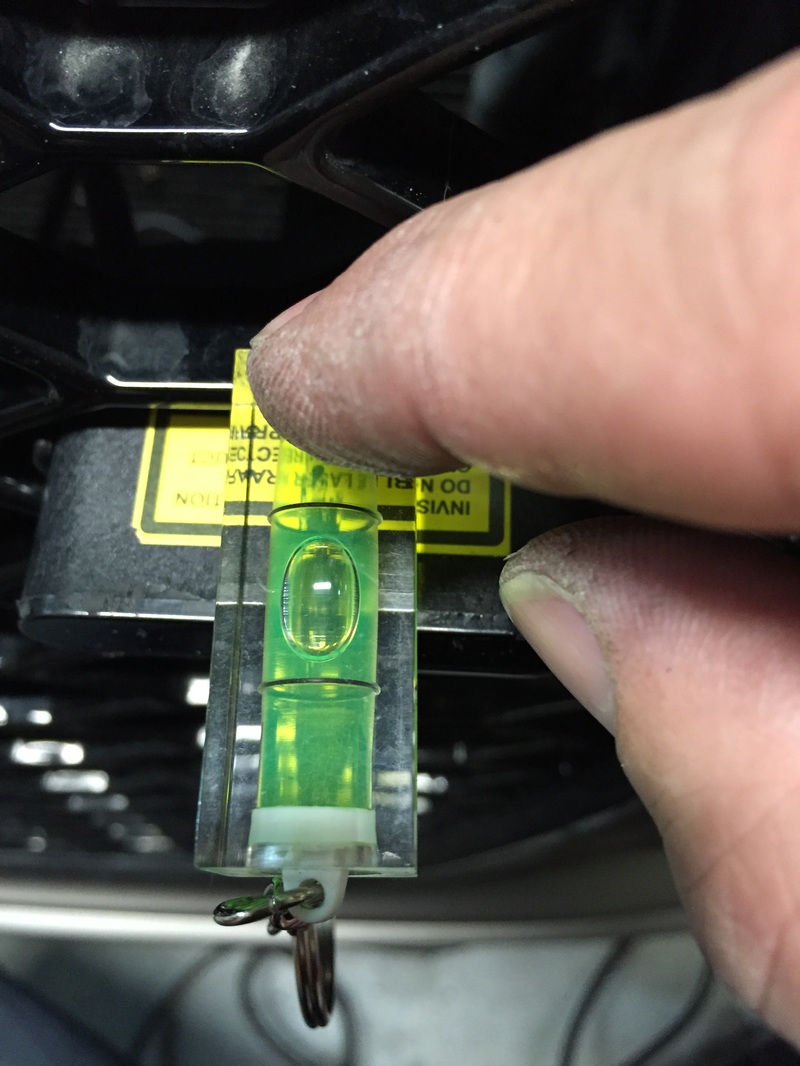
I then took just a bit of time to slightly tweak (bend) the mounts to make sure they're as level as possible. Not a lot of adjustment was needed and I ended up with them pretty much spot on level from all directions.
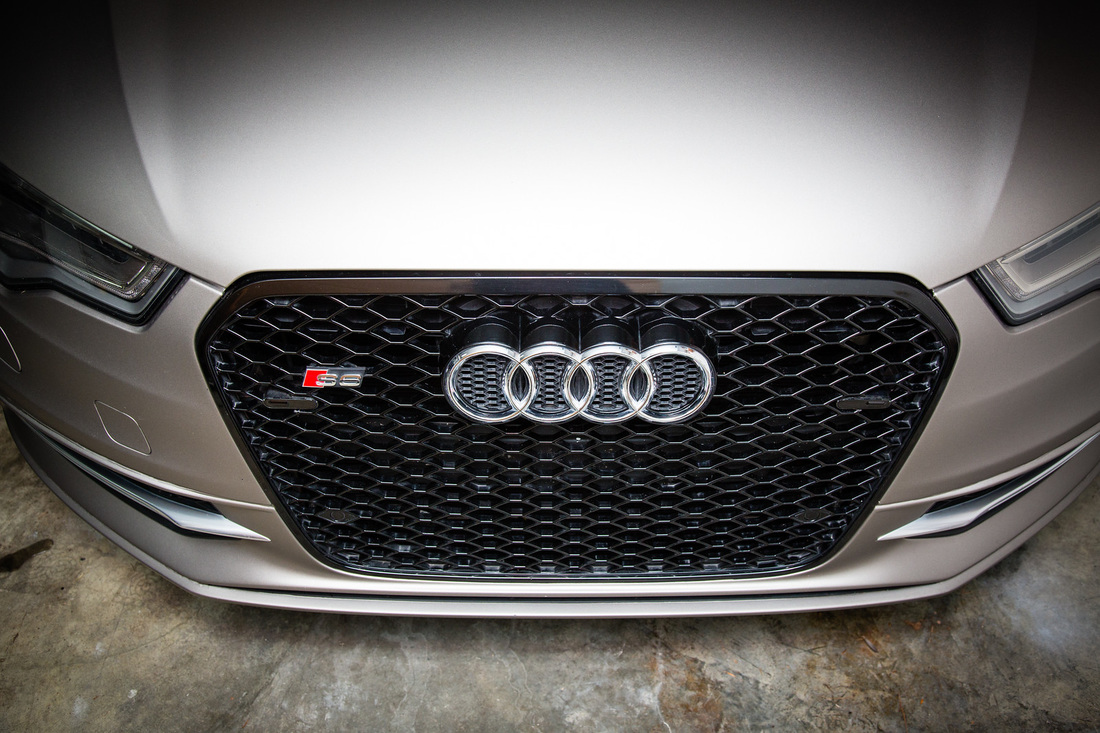
The final results
See below for the final mounts. I had it tested just a few days later and it was 4 for 4 in jamming the gun from 2300 feet all the way to passing it. Very glad I have Mr. VortexRadar here local to help and test!!