Custom Director Mount + //04.24.2018
|
I recently finished what has been a really fun project. I got turned on to 3D printing by a co-worker who pointed out the fact that we get to print things for free (bonus!). I had been living with a failed fab attempt for probably a year, having given just one swing at cutting out a shape and then using bondo. It just was no good from the start, and I didn't have the energy to dig in deeper at the time.
Core problems were: I've never done any type of work like that before, and I also wanted to have more than just the Director in here. I wanted to fit all of the following:
|
Finished product and 3D printing file download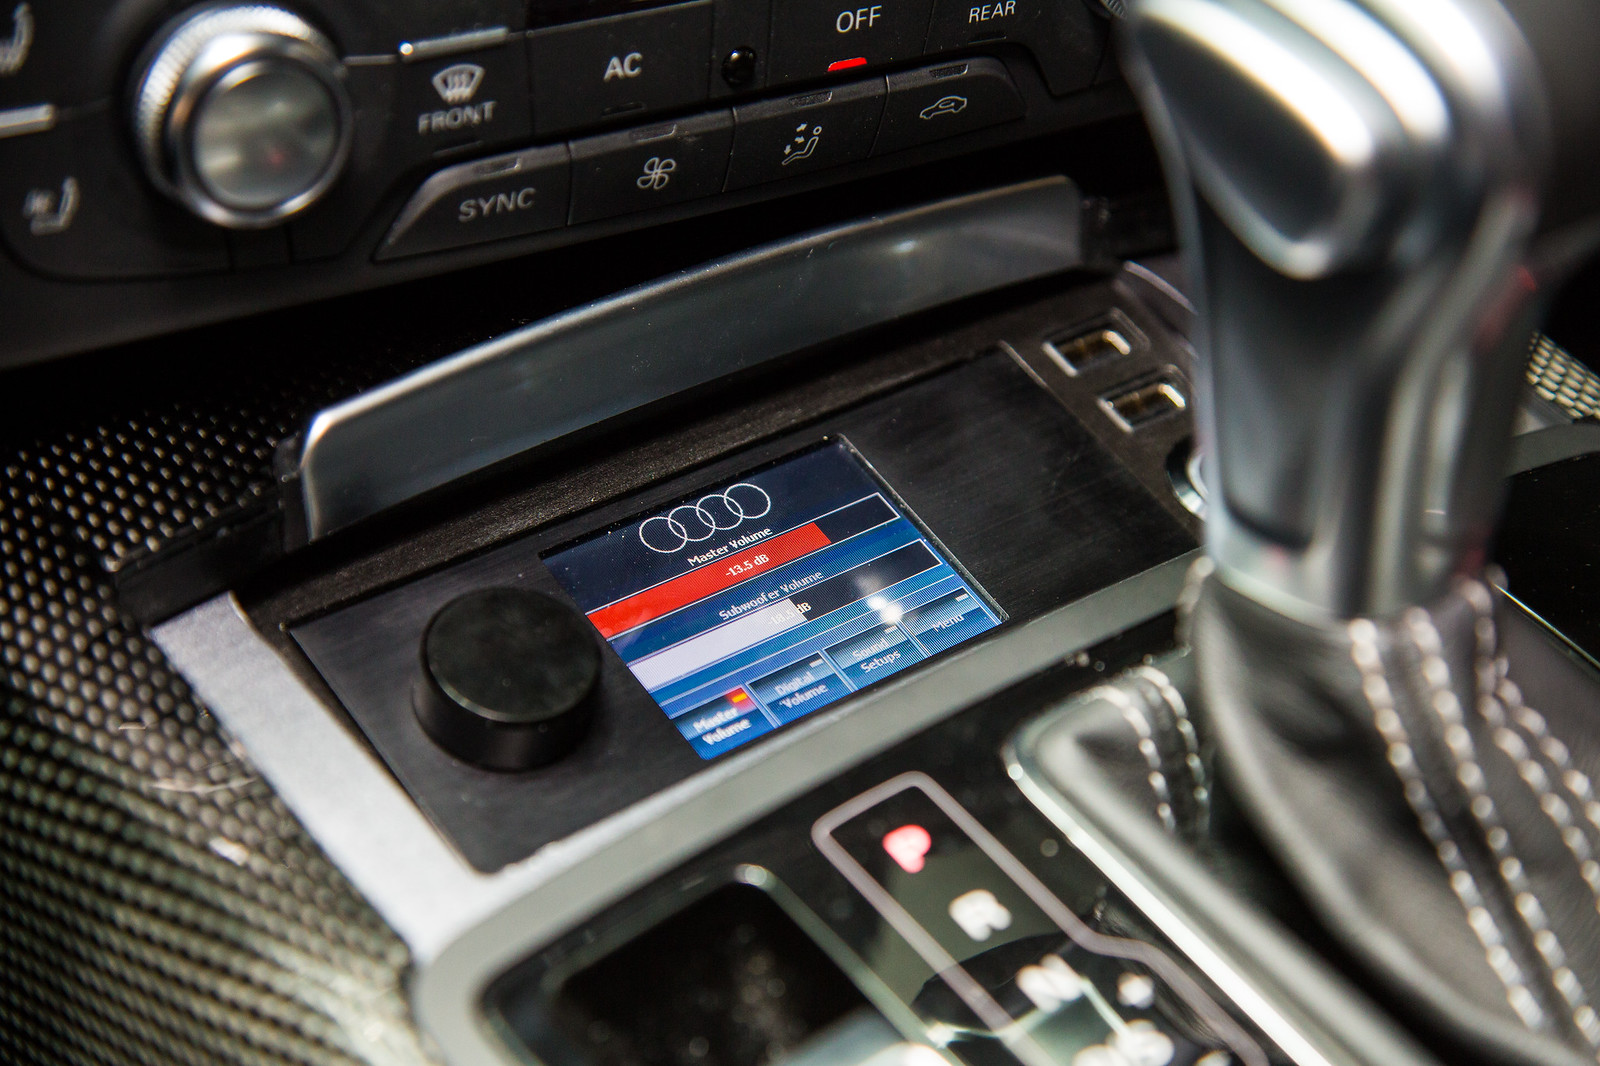
| ||
|
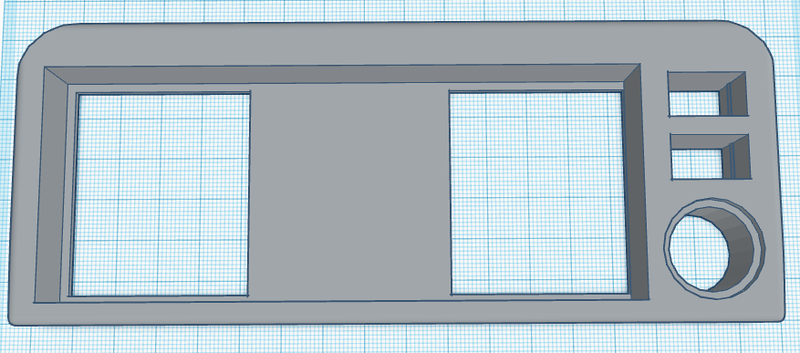
I used www.tinkercad.com which is free, super easy to use / learn online 3D modeling software. After watching a few tutorials I was off and running. It was super fascinating for me to learn how to make rounded corners, etc. through the use of just simple objects that act as either solids or 'holes'. Anyway, the Director mount you see above is my first ever creation, and I'm sure people other than me could do a much more awesome job creating it, but in the end: it fits like a glove! ….after about 7 attempts ;)
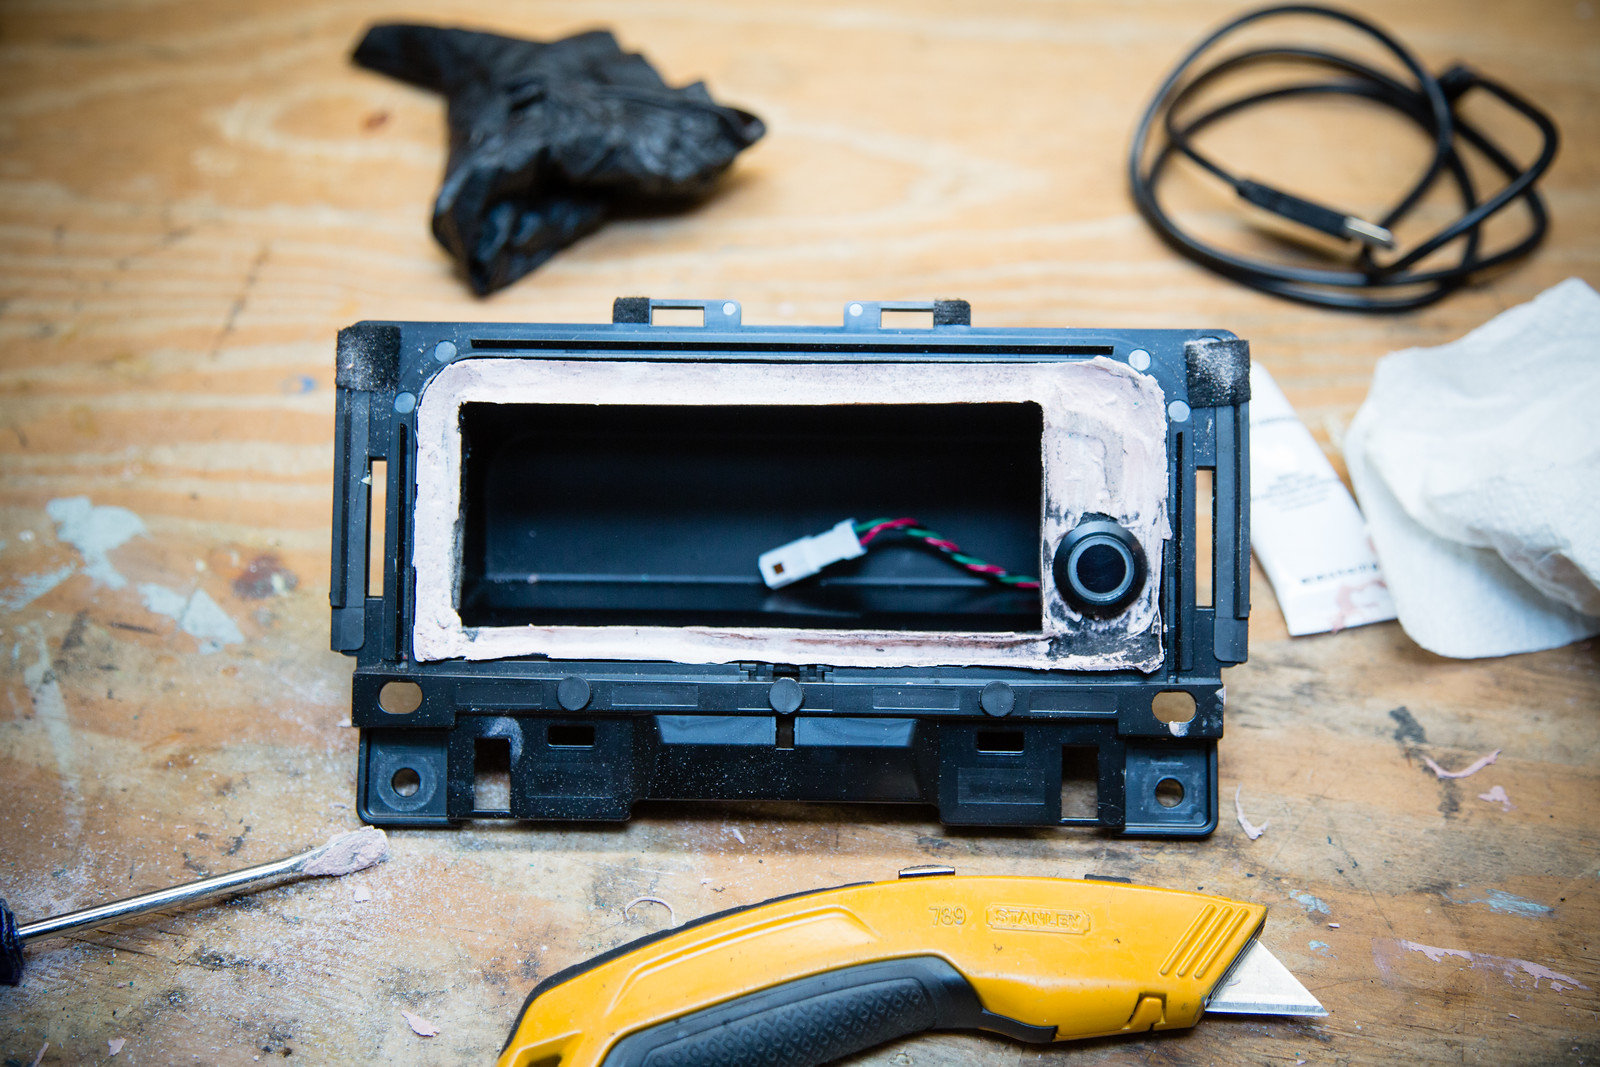
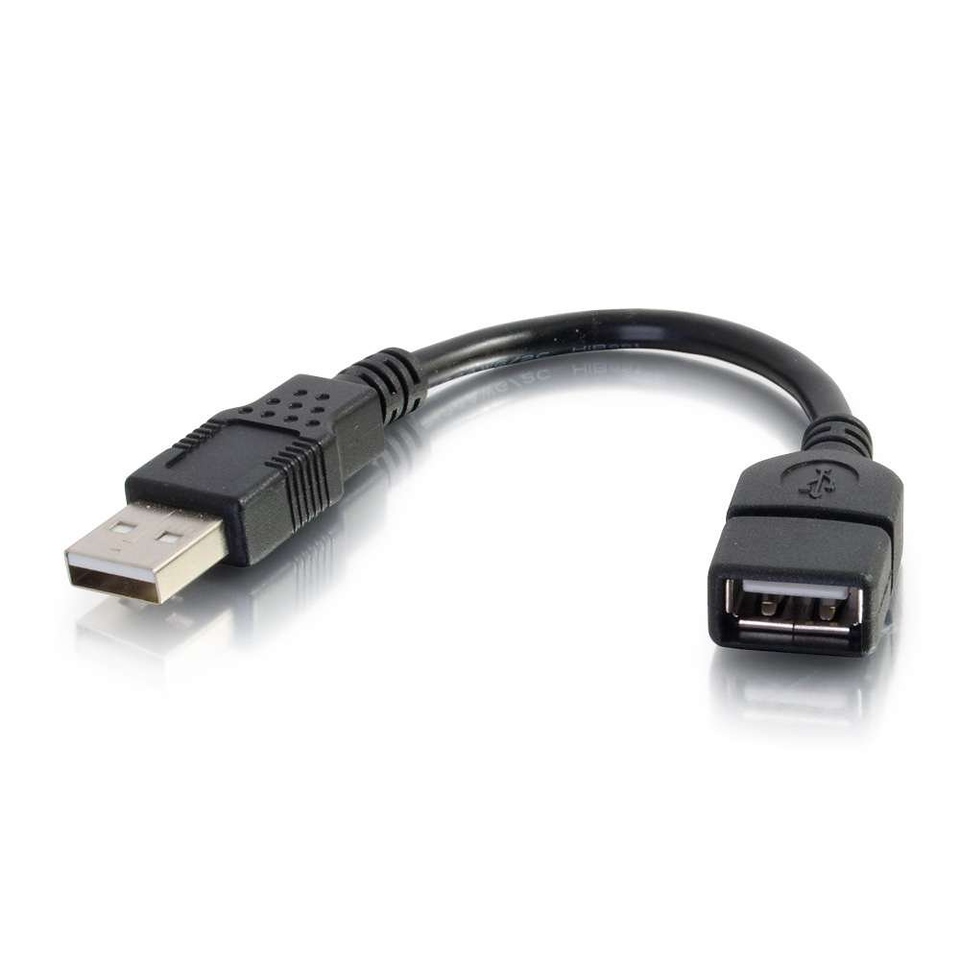
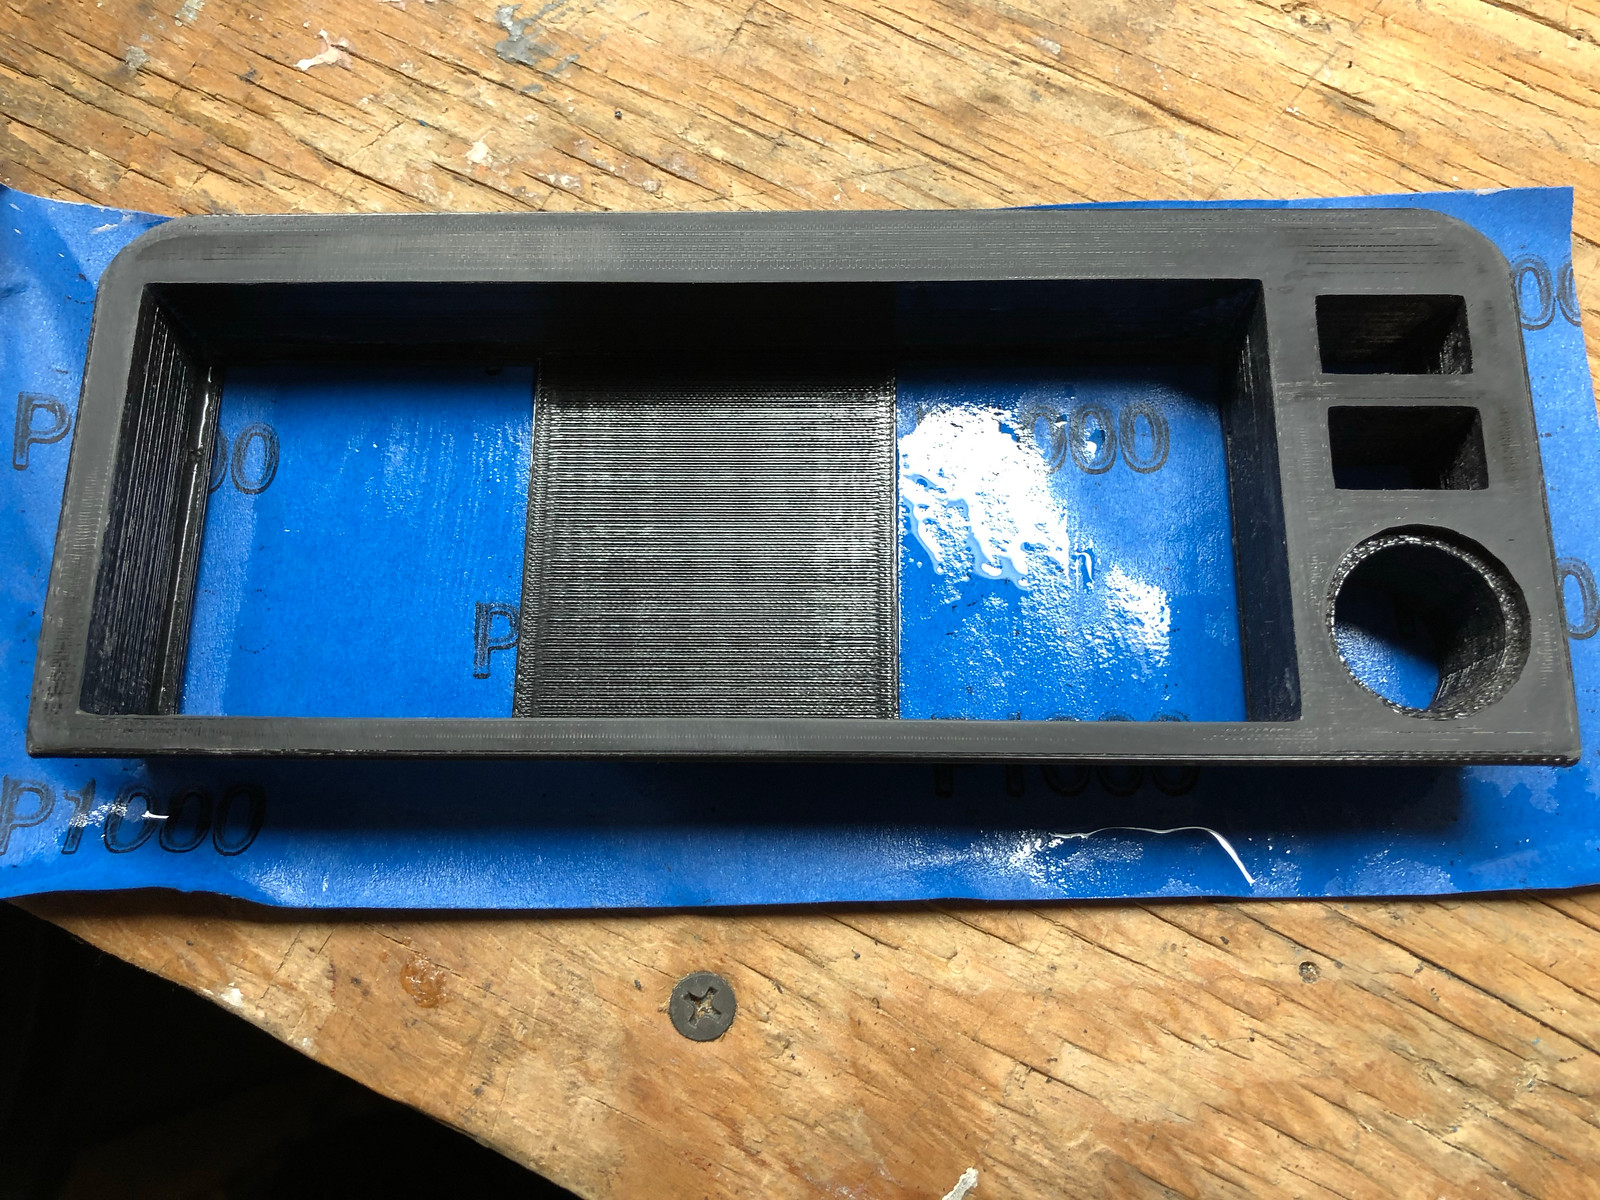
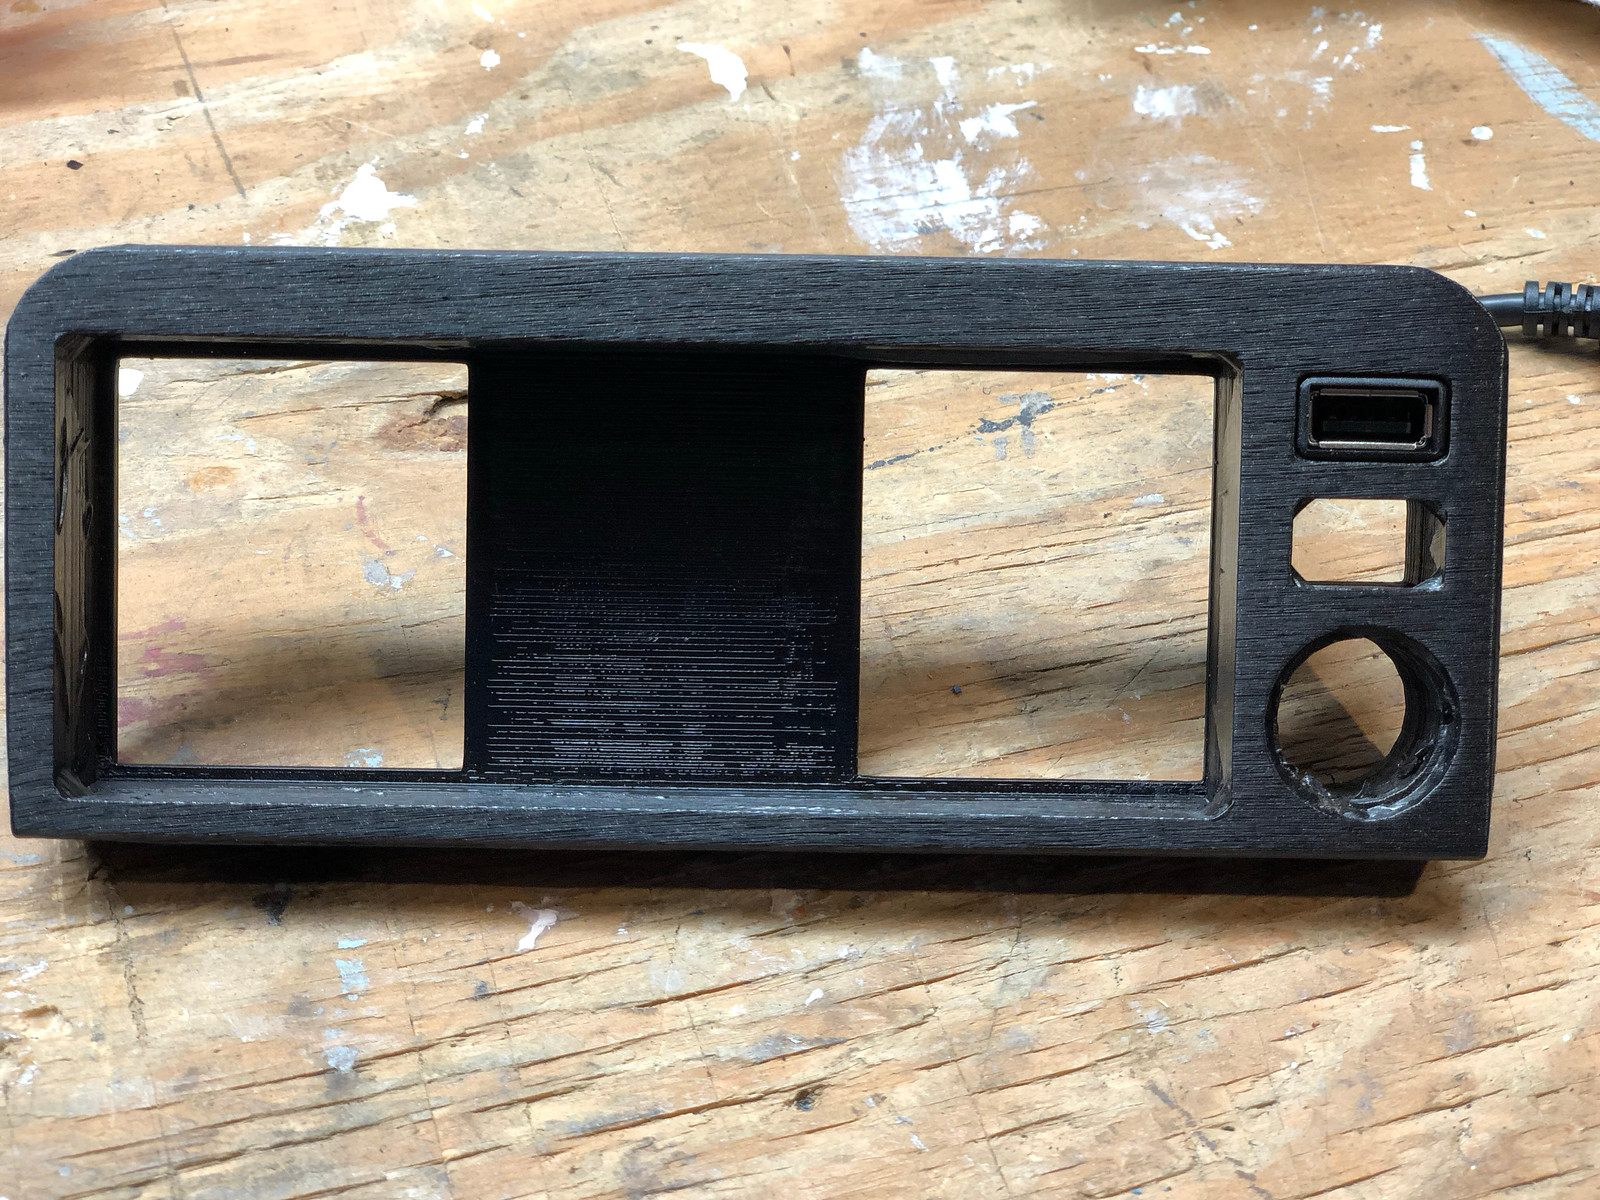
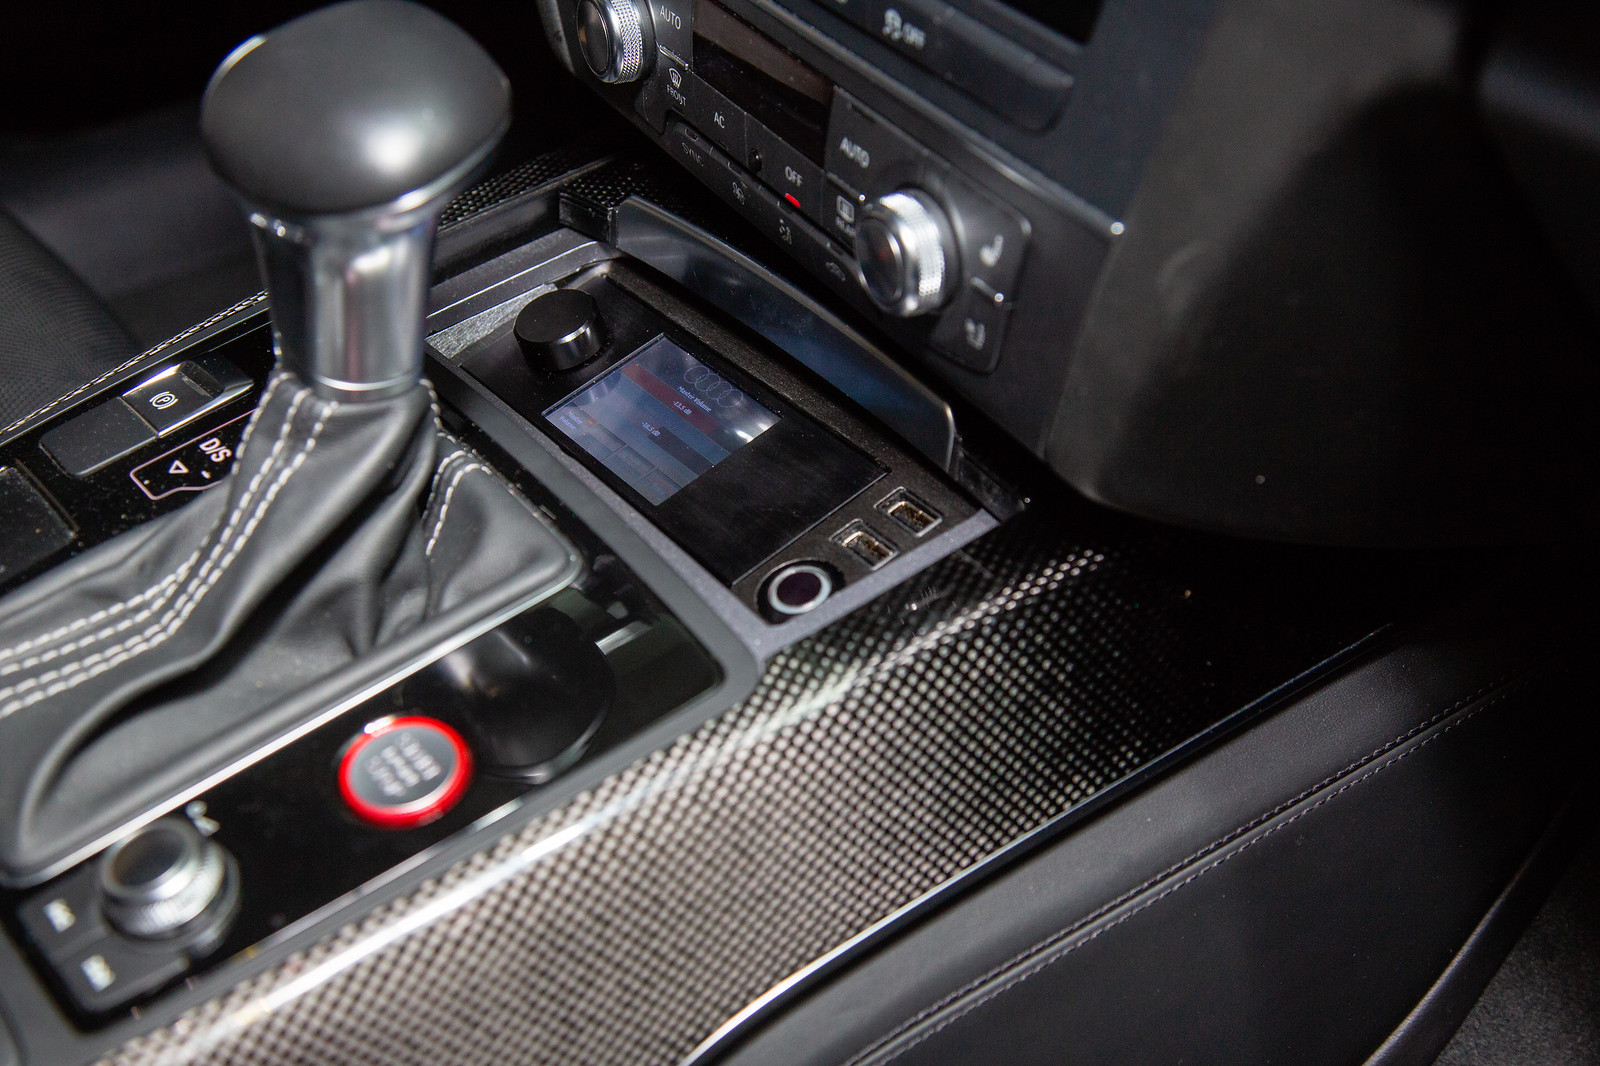
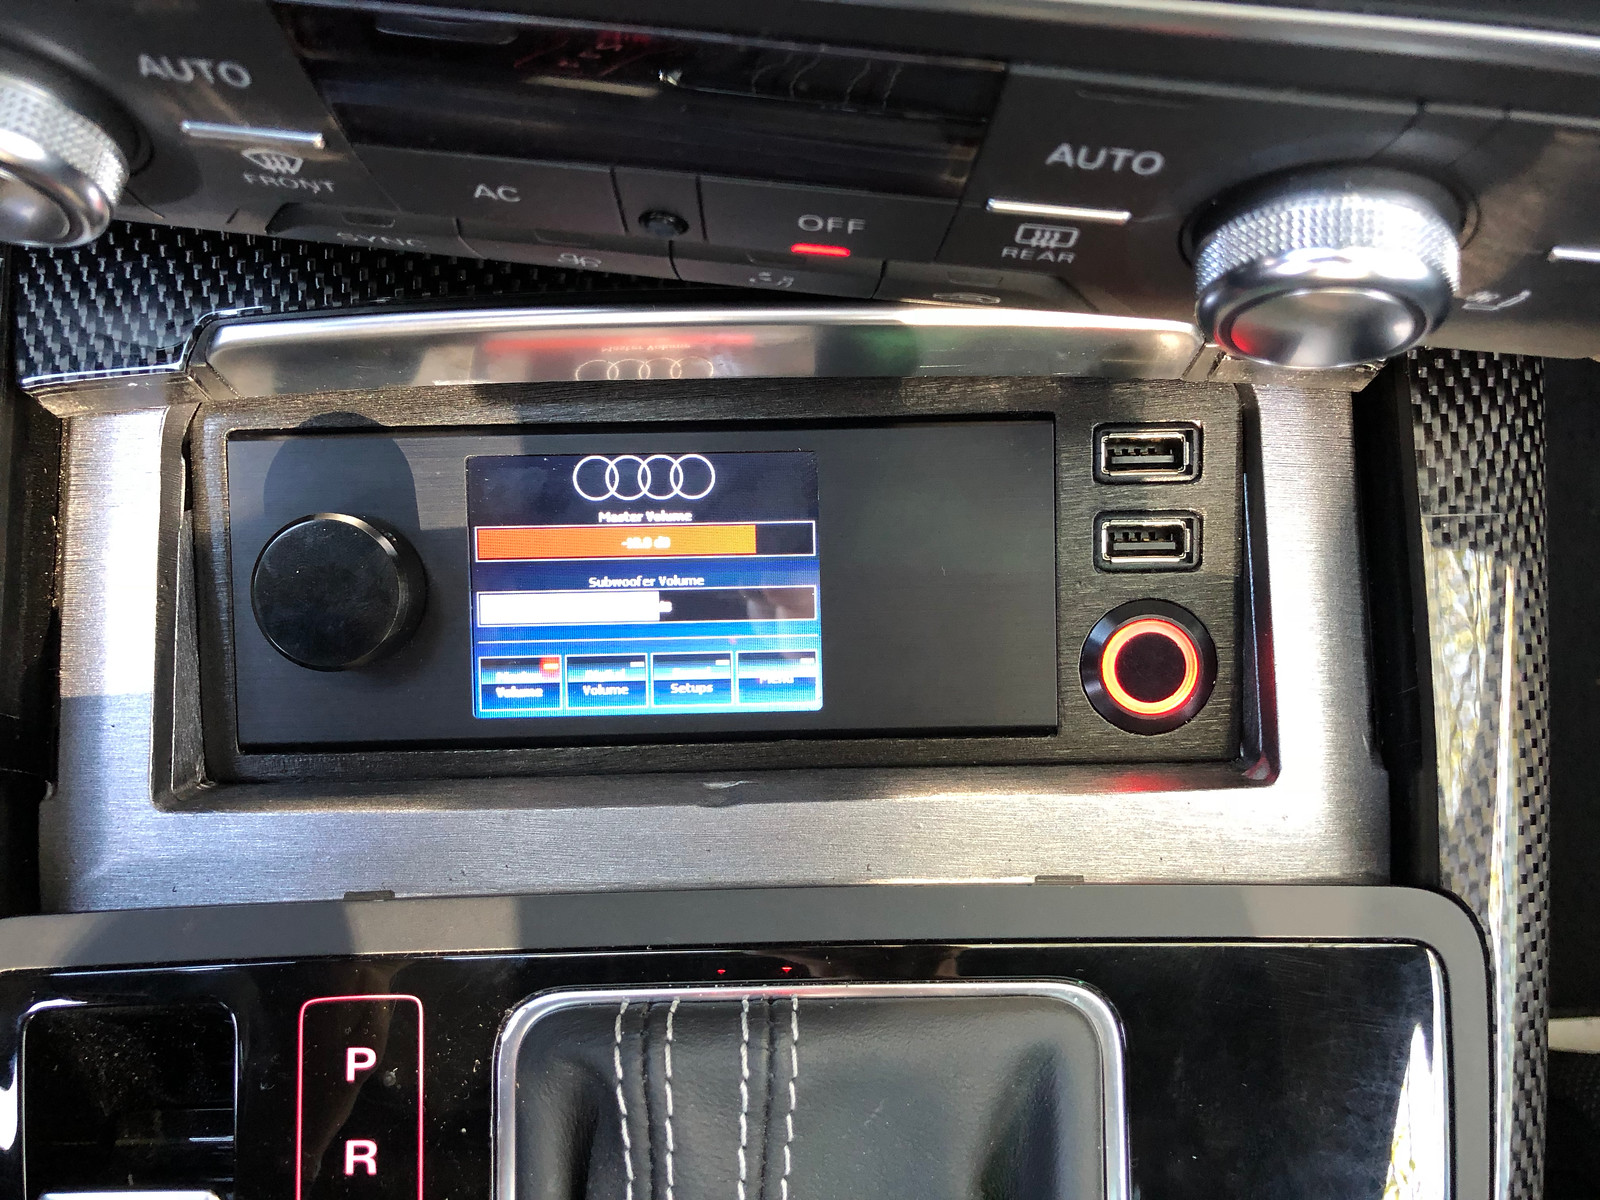
The tricky piece here was that compartment that it goes into is angled on the sides, the Director needed sufficient depth, and as mentioned above - I wanted it at an angle. Turns out a millimeter here and a millimeter there can actually matter quite a bit when doing this stuff ;) One fun thing to highlight on the overall design that I initially worried about is: how will I secure the USB ports? As you'll see, the USB extension cable I bought has an indent halfway down its side (see right). I measured the exact distance down to that indent, and correspondingly, on the inside of the Director mount USB port holes, added to the thickness of the walls for just the height of that indent so that the plug just clicks into place at just the right level (you can see this in the 3D model pic above - the small little blue lines). It works perfectly: those ports aren't going anywhere accidentally no matter how hard I have to press or pull to get USB stick in/out. After several attempts and test fittings, I finally all of the dimensions right, wet sanded with 1500 (below, left). As you can see, based on the density that it was printed at (40%, which is actually quite dense) there still are printing remnants visible i.e. lines across the surface. I probably could've sanded for a few more hours and tried to get these out, but after also putting it in the car, I saw that the finish / color just didn't work that well with the surroundings. I then tried painting it a matte black (no picture, sorry) and that didn't really work either. Final answer? - I wrapped it in the same material as the roof is wrapped in (3M 1080 Brushed Black Metallic) - - see pic right below. |
|
|
|
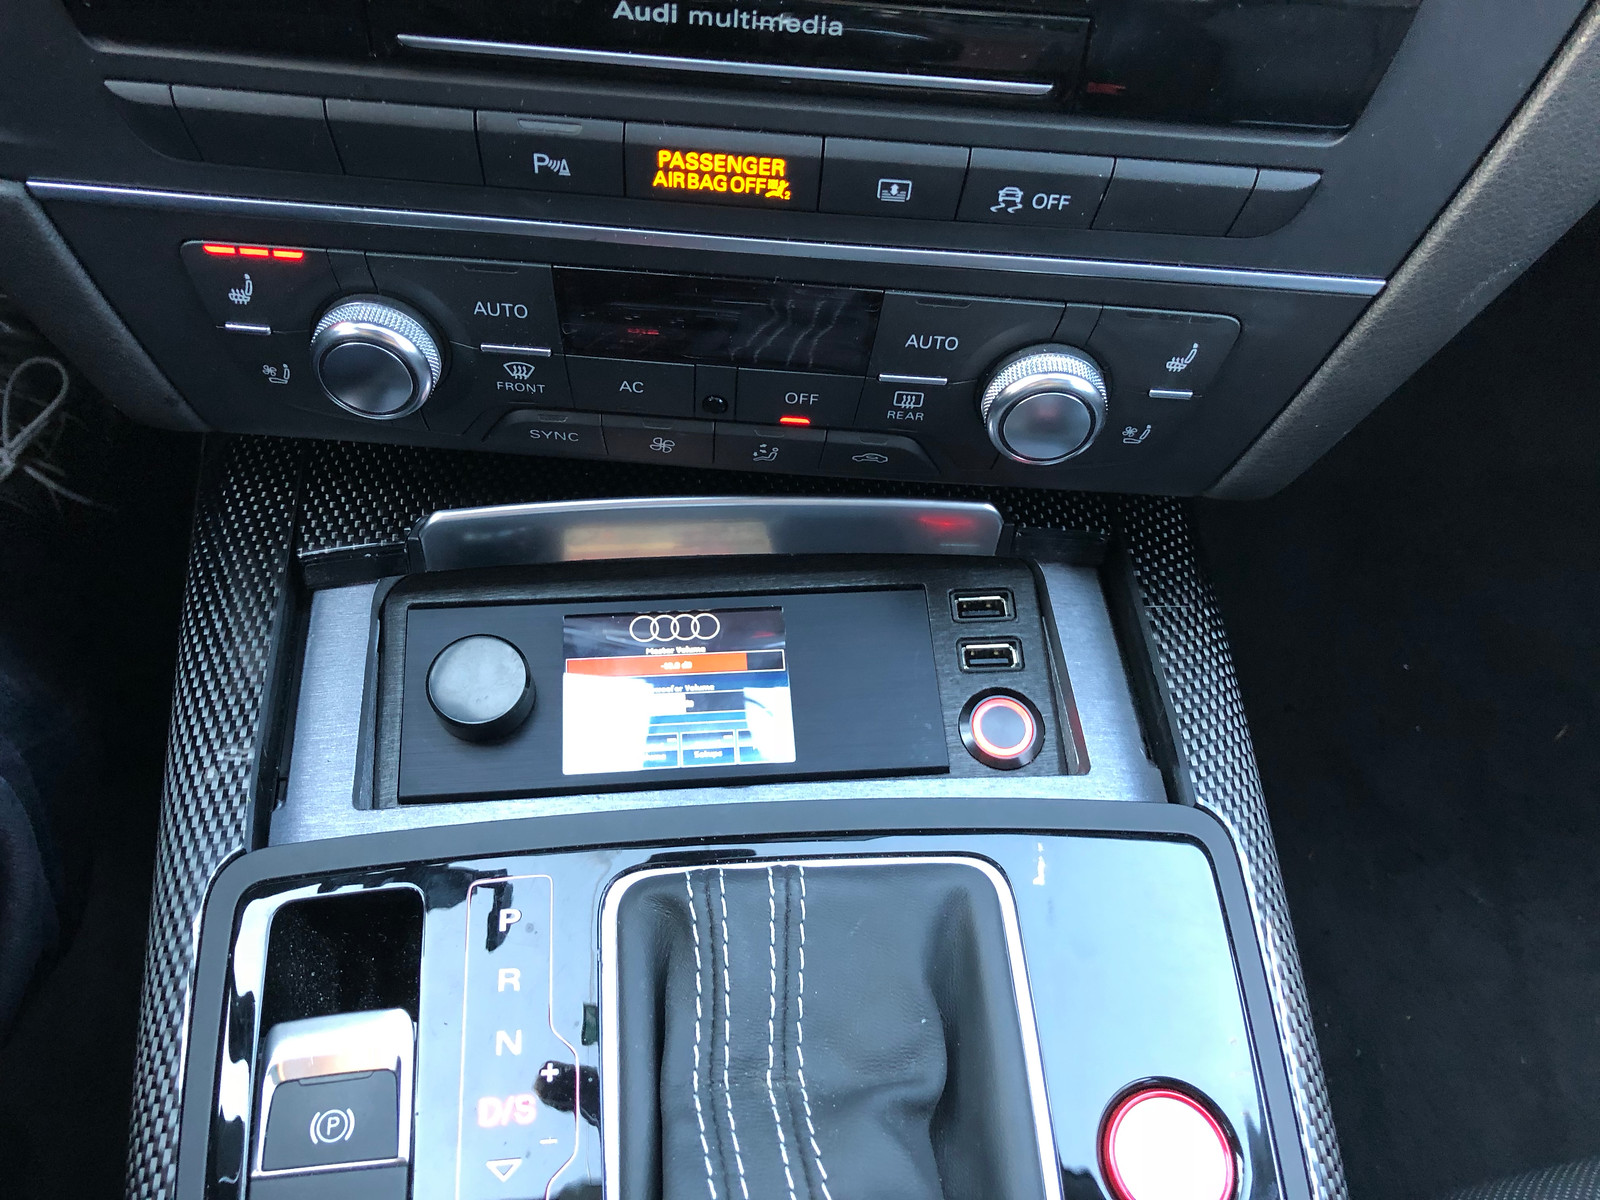
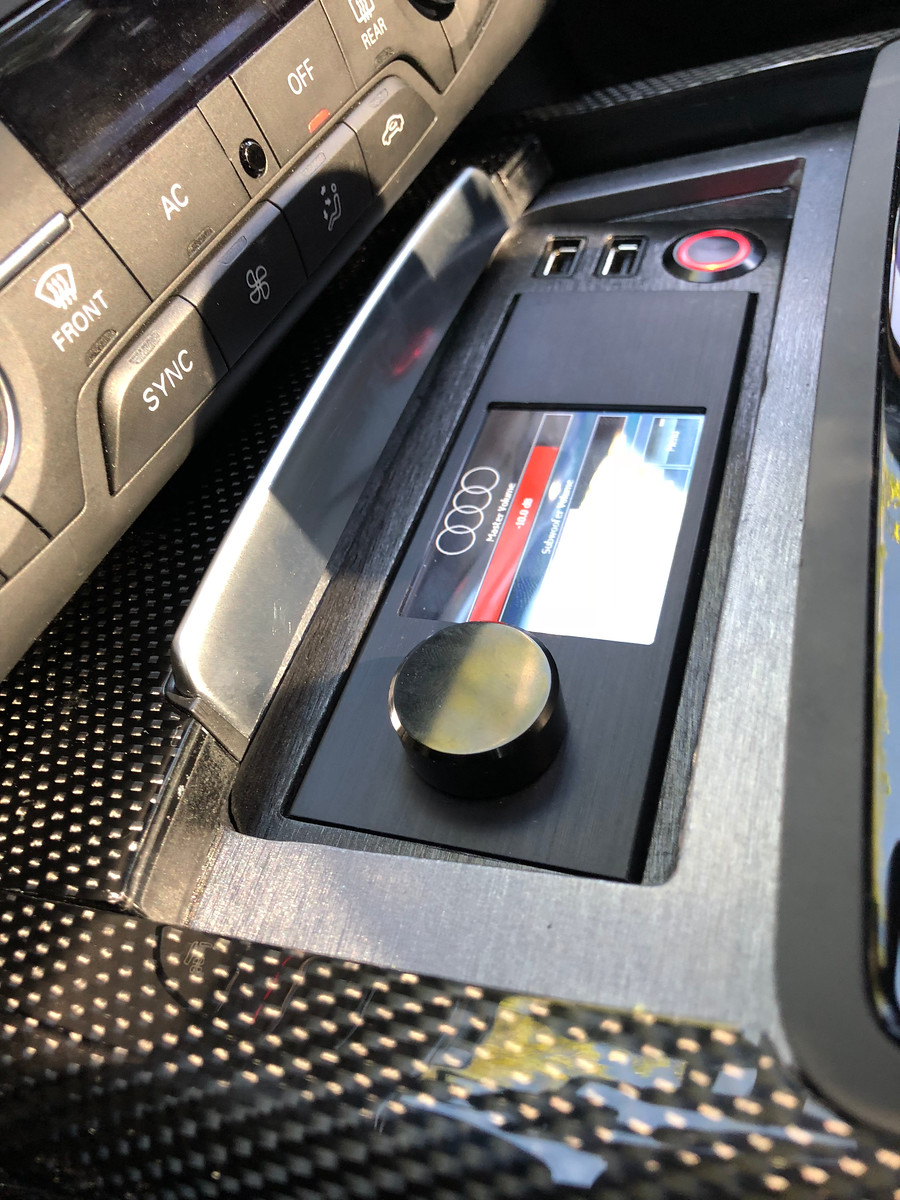
Once I put that into the car, I realized the black plastic surround of the compartment looked kind of meh next to this. I then took the compartment out of the car, and wrapped it in the main wrap of the car (3M 1080 Brushed Steel) to complete the look. It fits into the compartment purely via pressure fit, and is solidly in place. Works perfectly, and I like how the wrap colors look by themselves, and in context of the carbon fiber surround. Only thing I wish was different: that the Director did not have beveled top edges...just doesn't look as smooth/elegant as it could, but oh well.
Click on pics below for hi-res (you'll see a few wrap imperfections that I'm fixing this weekend).
Click on pics below for hi-res (you'll see a few wrap imperfections that I'm fixing this weekend).
|
|
|
|
