|
After selling my Valentine 1 with my RS4 (had a nice custom made remote display and mute button) I did some research on what would be my radar detector for our S6. Once I had the V1, I knew I needed arrows, and I was up for trying something a bit new. Enter the Escort Max 360 which is the first detector on the market, aside from the V1, that has directional arrows which inform you on whether the threat is ahead of you or behind you. If you want to understand this detector inside and out, set aside some time and consume this awesome, holistic review. Here's a direct link to the shorter overview video:
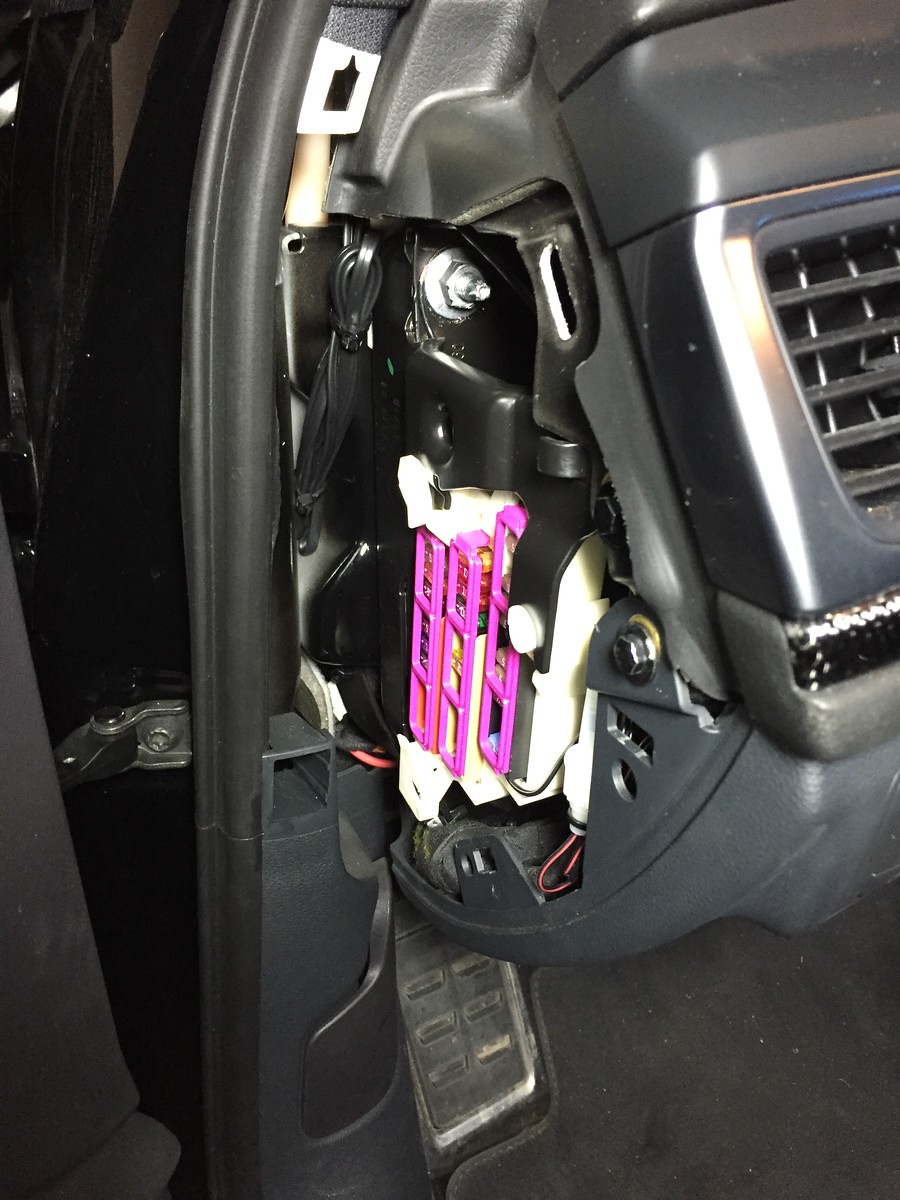
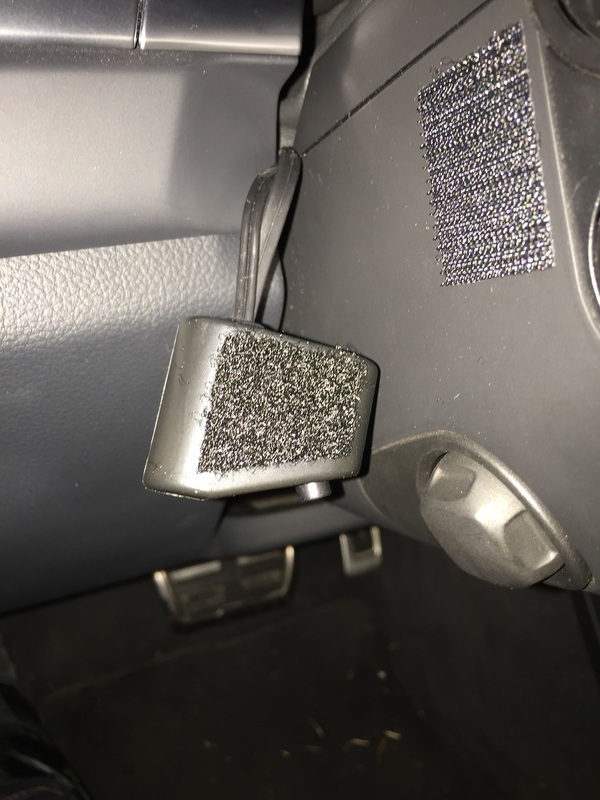
To the right, the finished setup: you can see the wire going into the first row of fuses (7.5 amp fuse). I went the old school way of wrapping the wire around the existing fuse vs the usual Add-A-Fuse so that I could keep the purple 'fuse securing grate' in place. You also can see the fuse of the Escort Direct Wire SmartCord tucked to the right, secured via zip tie to the car. I went with this cord so that I could easily press mute on any alerts quickly and easily without needing to reach up to the detector itself. Finally, the power cable is zip tied there to the left, and it tucks in (towards the front of car) where it's not really visible when taking the fuse cover off. 
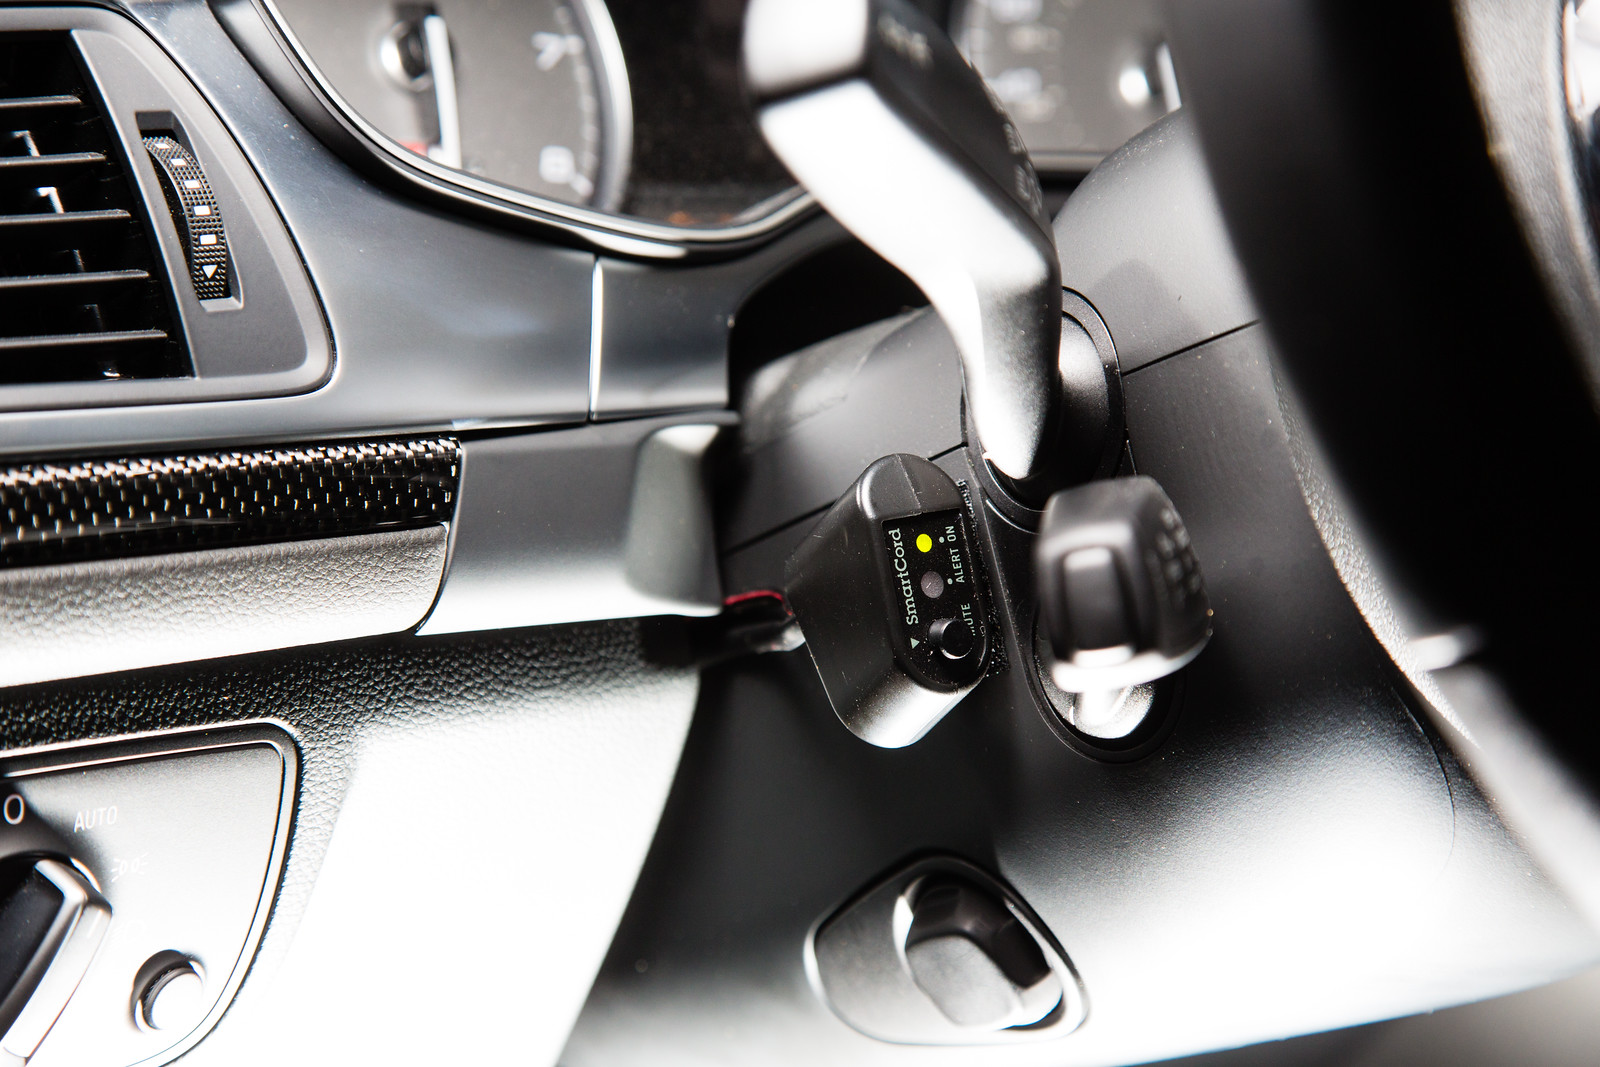
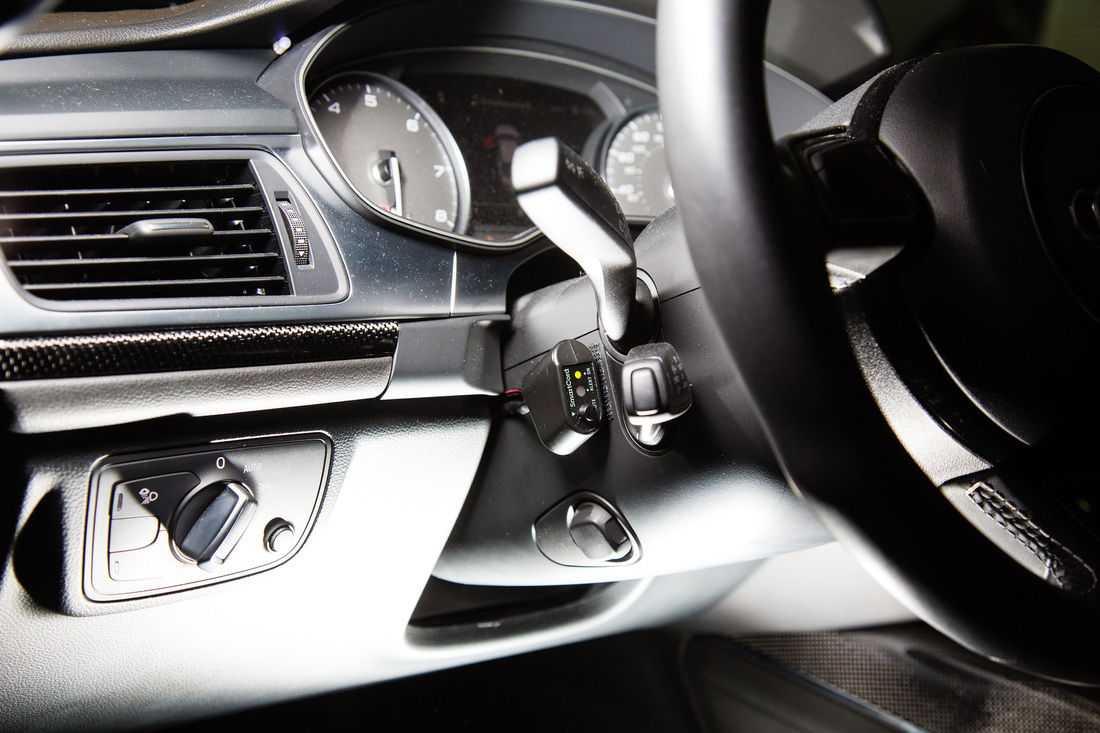
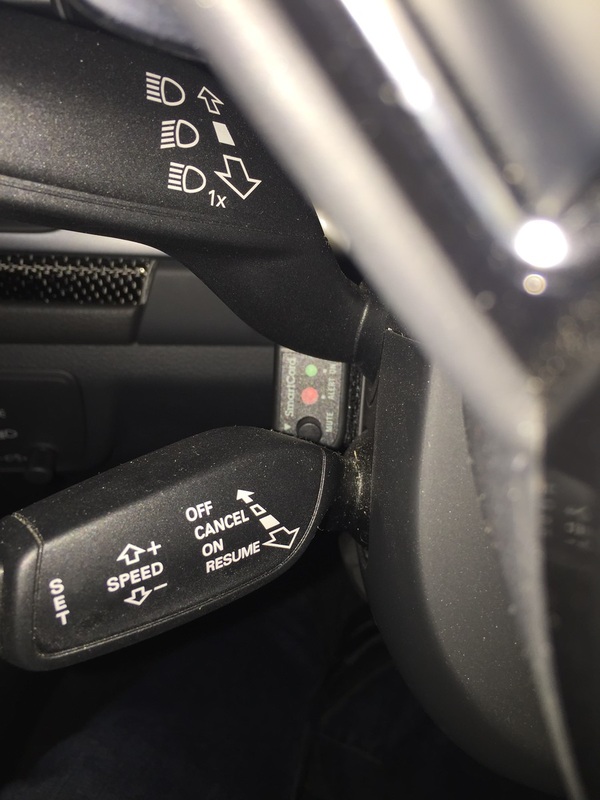
SmartCord As to where to mount the SmartCord... I knew I wouldn't end up with something as slick as my V1 mute button I had on the RS4, but I knew the key for me was to have it as close as possible to my left hand in the normal driving position so that I can quickly, easily, and without looking, mute the radar detector. That meant somewhere on the steering column. I grabbed some blue painters tape and tried different positions over the next week, before locking on the below which I found was the best combination of: in easy reach, and without being blinded by any of the lights on it. Perfectly so, I can't see them at all during 90% of regular driving :) To get the unit there (and to start the ALP install) I had to remove the knee bolster...and holy cow, that was a huge pain as the clamps are super strong and tight. Even the official Audi documentation mentions "excessive force" needed to pry it loose. Once off, I tucked the wires behind and buttoned it back up. Final result:
|
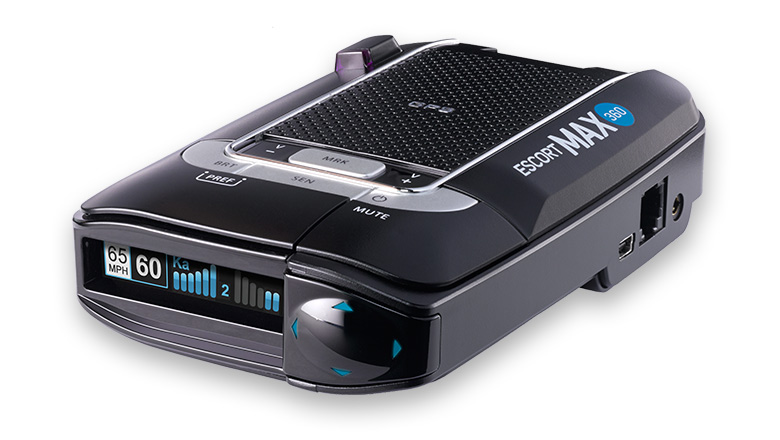
Yes, the 360 is not the champ of distance nor does it compete with much higher priced alternatives like Stinger, but it has a solid list of features that are all available without needing to have your cell phone out and visible. That piece is just a no-go for me, whereas many diehards are all about mounting their phone, even dedicated phones, for just this purpose.
PowerNot a lot to these installs, but fun to make them as clean as possible. First things first: power the unit off of a switched 12v fuse so it turns on with the car.
|
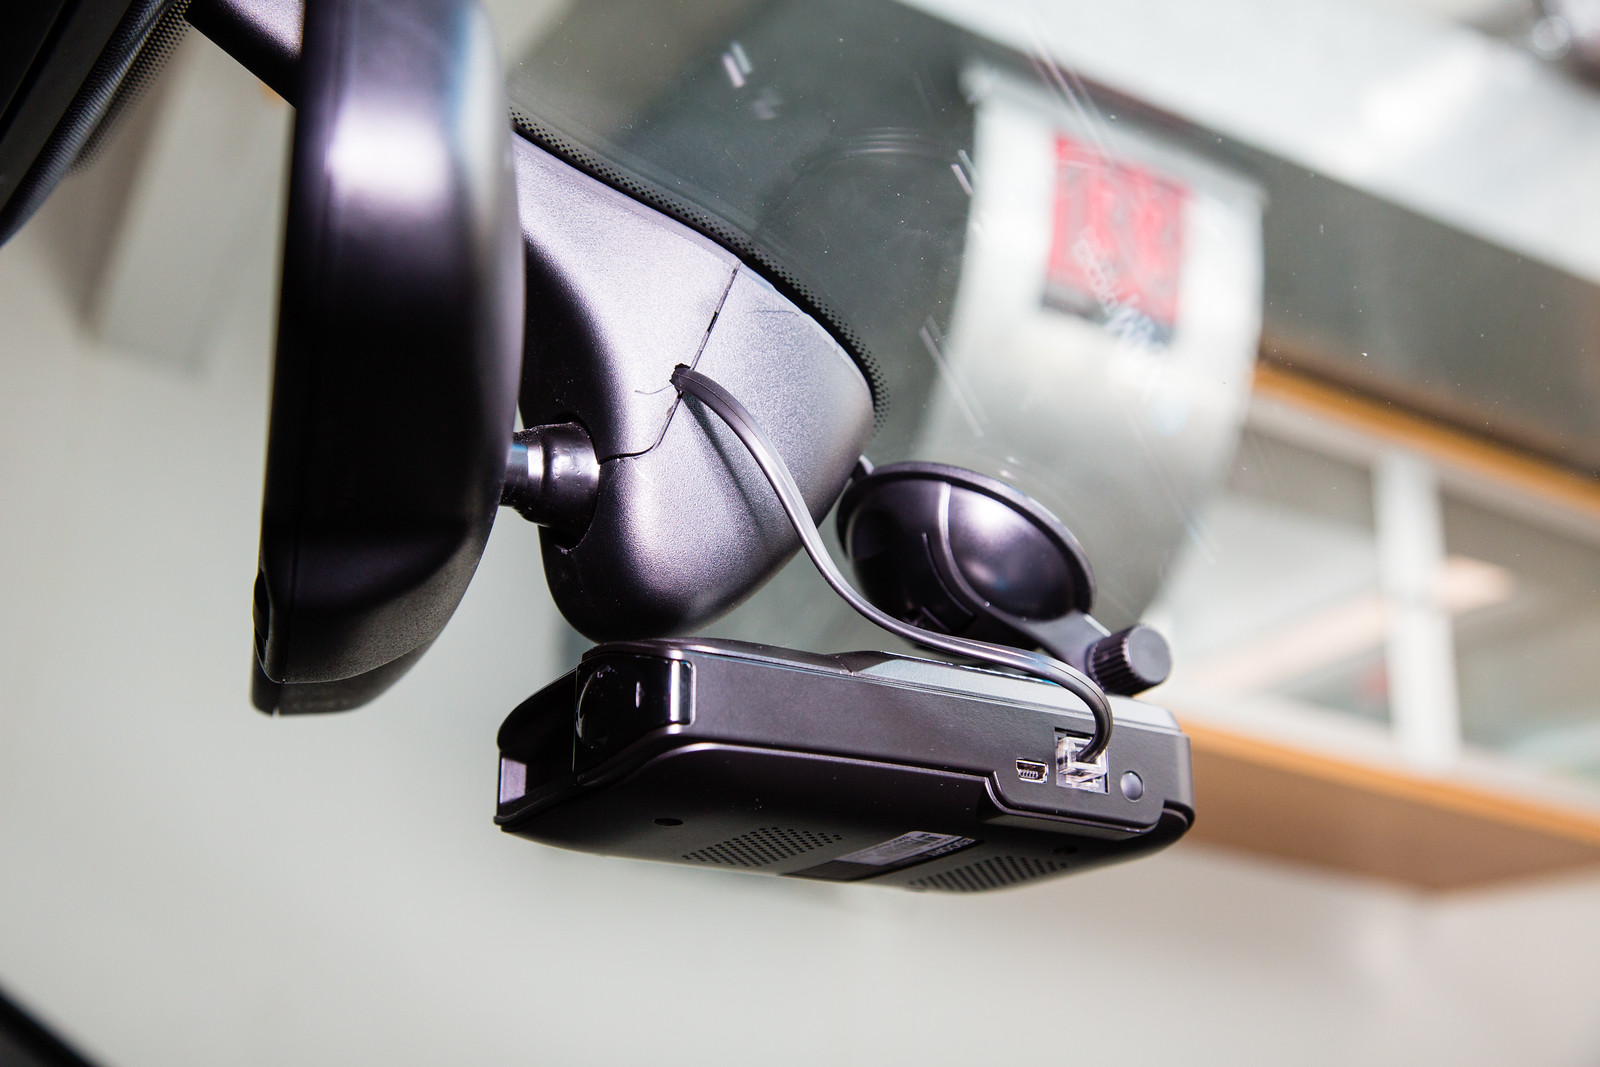
Mounting the Detector
|
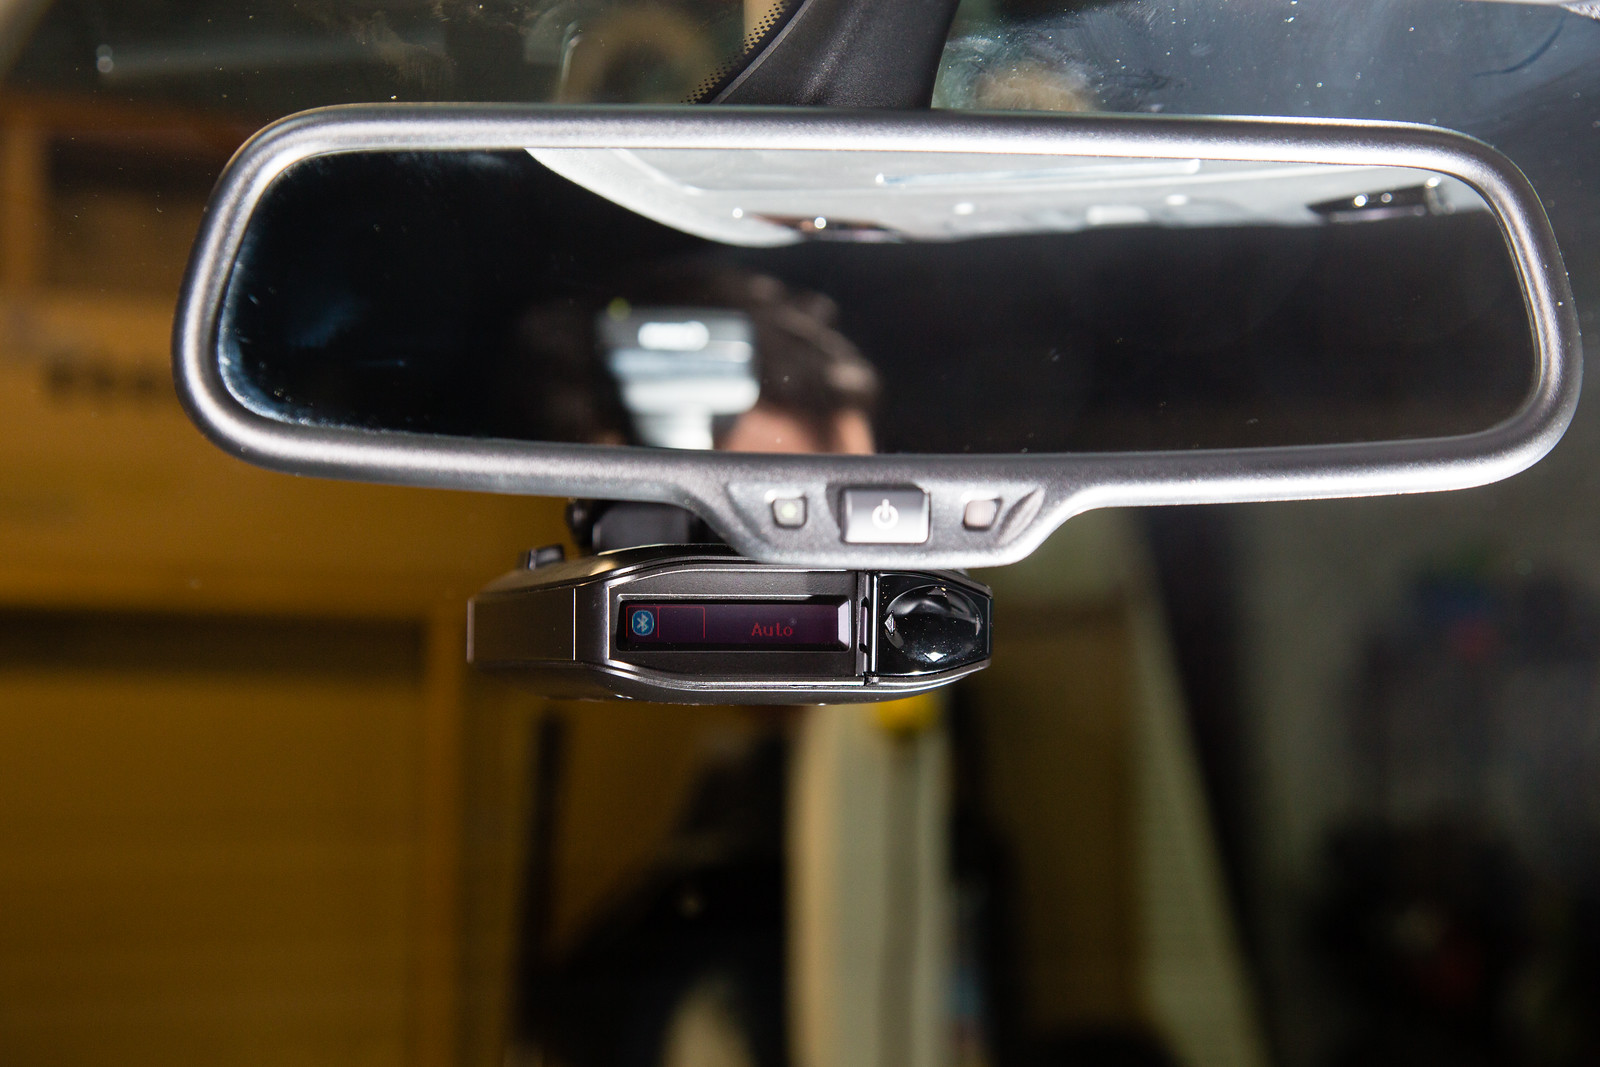
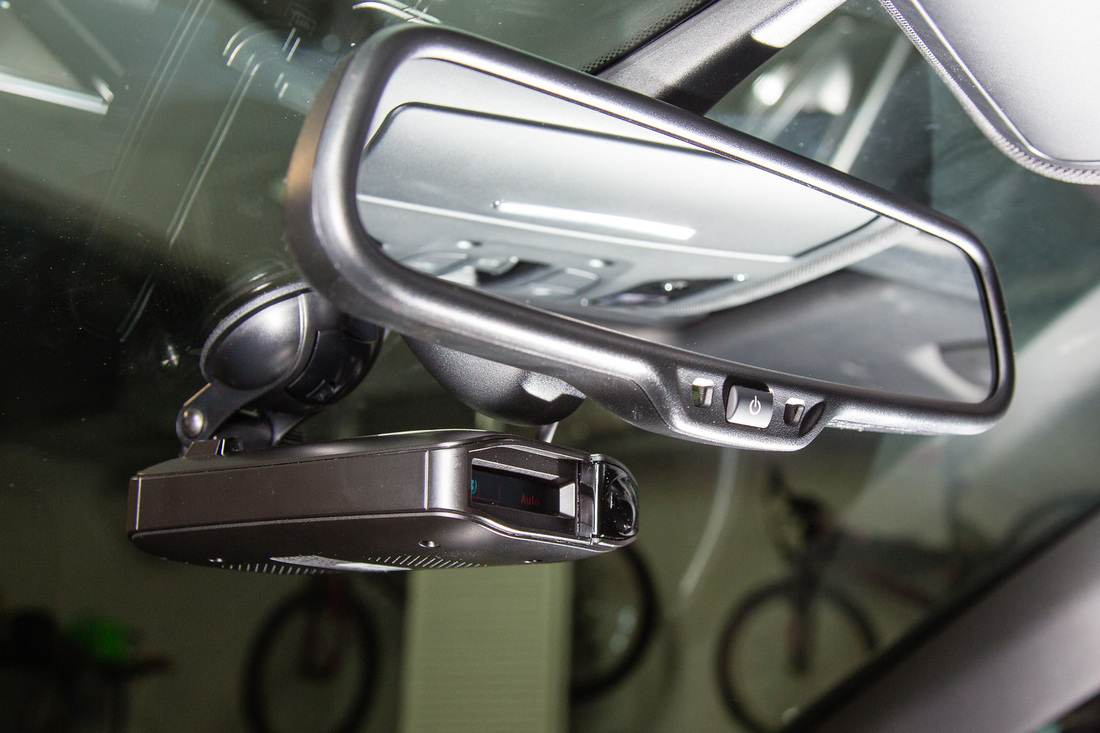
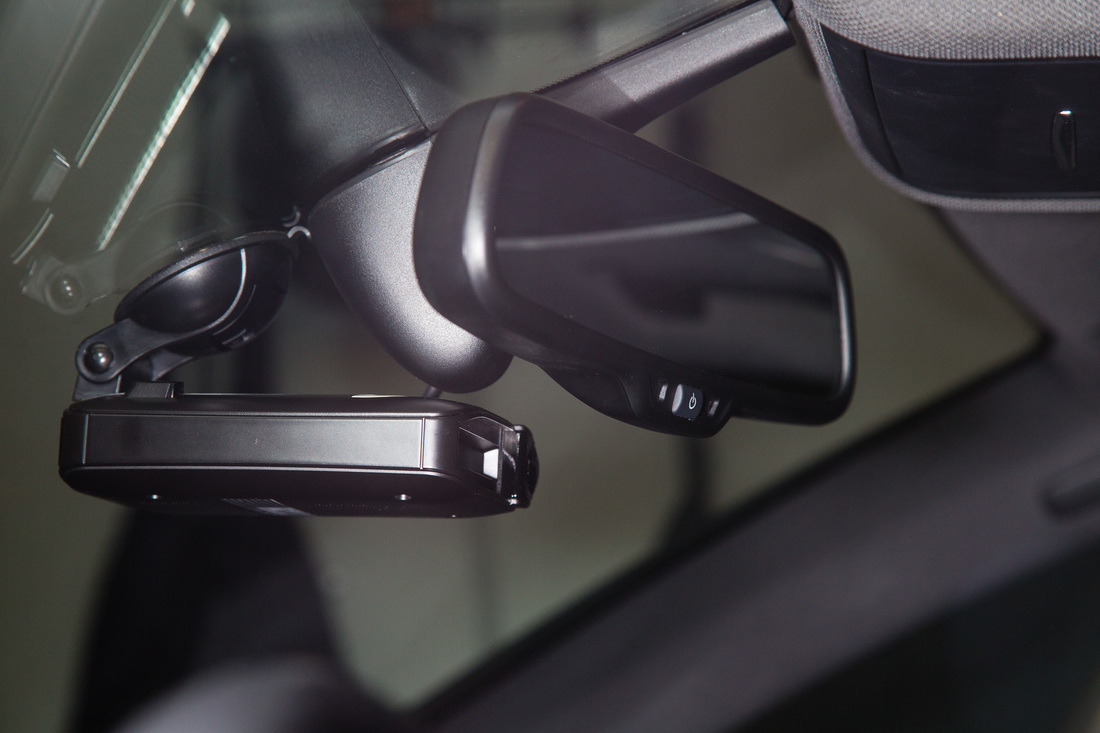
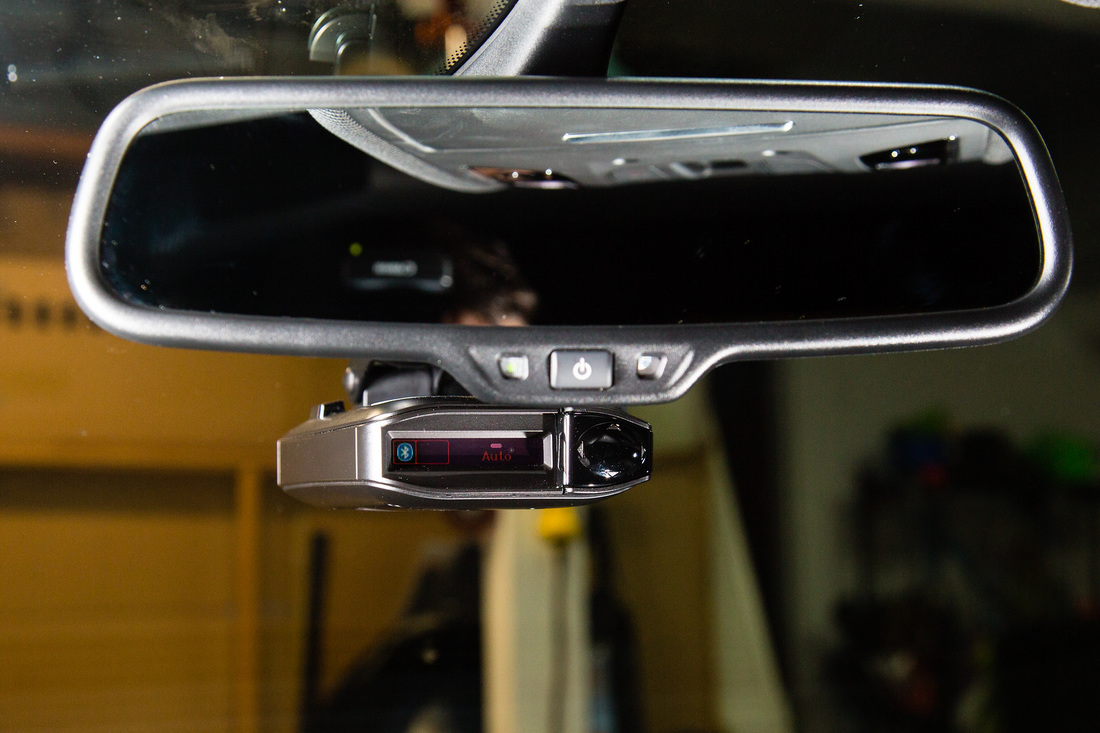
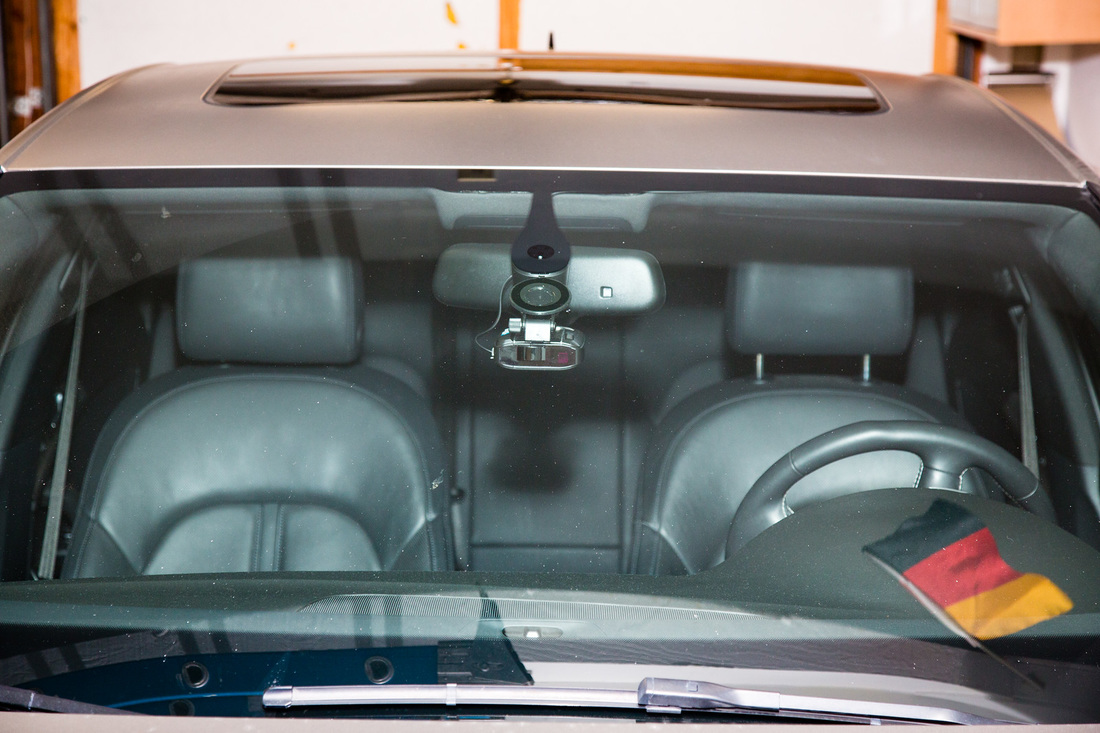
This thing is big...I again gave it a week trial with a couple of different mounting locations. First one being to the left of the rear view mirror. The issue with this place was it was really too far out front. I kind of had to strain my neck back to read the display. I had also thought about the Blendmount mirror mounts. They're well regarded, but also a bit pricey. Still, I liked the concept of having the detector just below the rearview mirror so I tried out the supplied 'sticky cup' mount from the 360. It ended up working very, very well. Three main reasons why I like this setup:
I can still operate the buttons when needed, but with the SmartCord, there's rarely a reason to. |
|
Routing the power cable
|
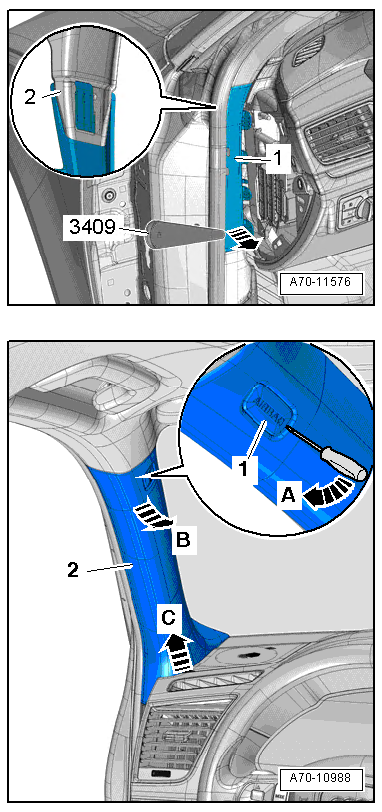
First thing is to remove the fuse panel inside the driver's door. It has a slot near the bottom where you can wedge in a trim removal tool or screwdriver, and then pops off. After that, in order to get the A pillar free, you need to remove a small trim piece as pictured to the top right. Trusty trim removal tool and pushing down gets it released.
I was again surprised by the force required to remove the main clamps that hold the A pillar in place. It was standard to remove the screw behind the airbag plastic piece (which pops right out), but then again it was prescribed to use force to remove the pillar which is held in by two clamps. A few nervous and forceful tugs later, i had it off. In pic below, i used one of the trim removal tools and wedged it in between the trim pieces to help with getting it out. 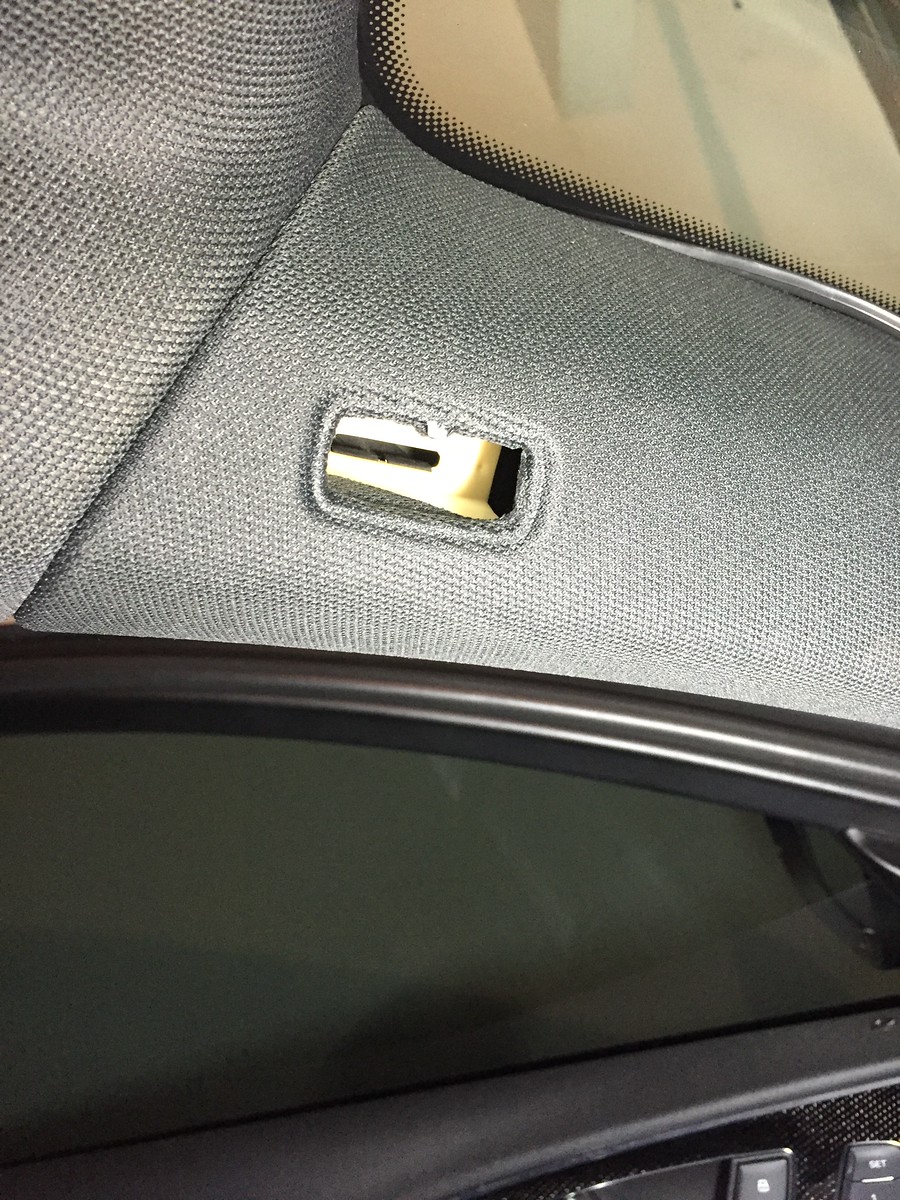
|
|
I routed the cable along the very top (not quite all that visible in pic below). It's tucked in behind the top side of the black wrapped wires.
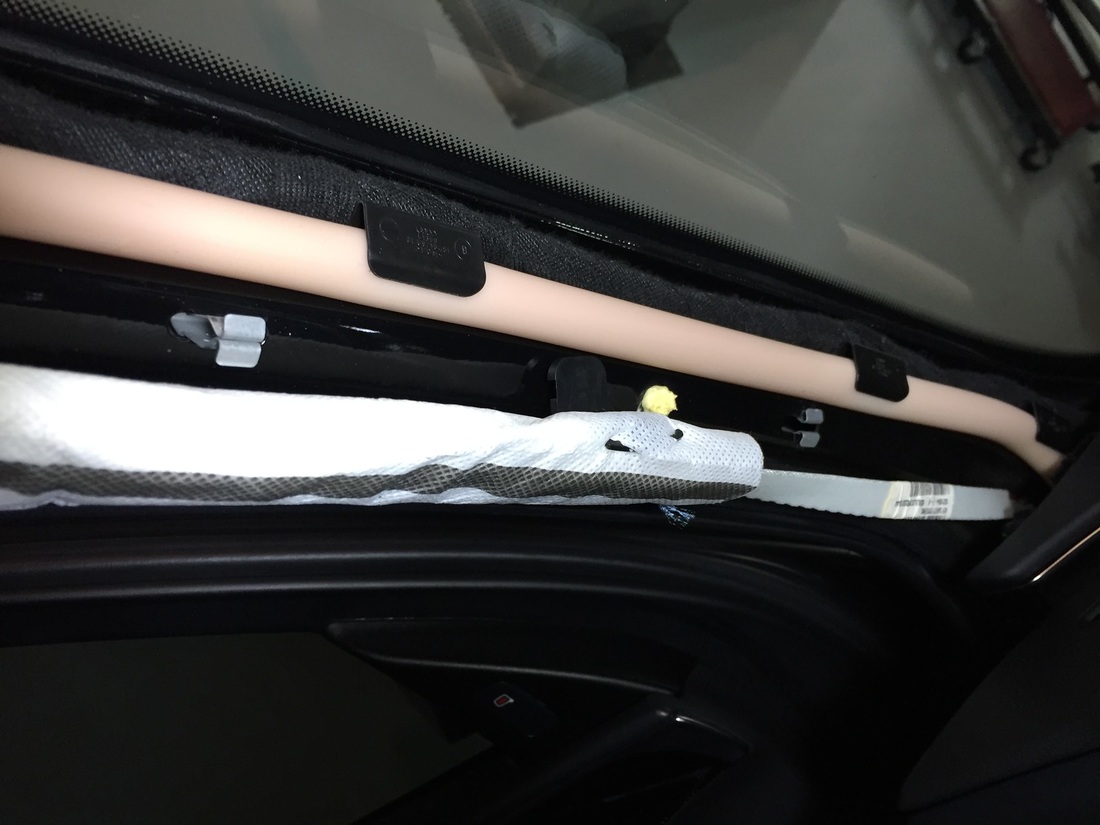
The cable tucks in easily along the headliner coming across to the mirror, so all that was left was to get a seamless as possible path to the radar detector where the cord is hidden for as long as possible.
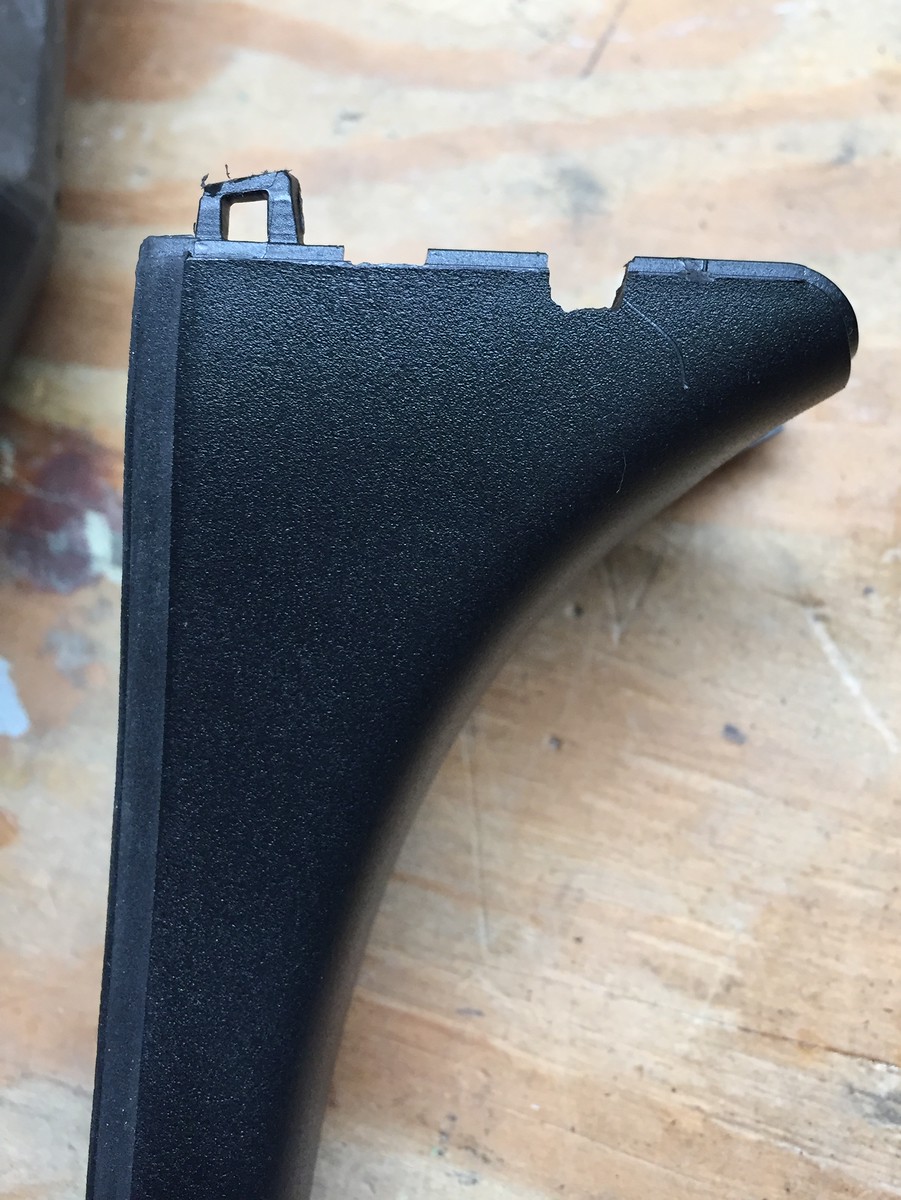
In order to do that, I needed to take the mirror mount cover off (easy: just squeeze a bit on the top most area - left side in pic to the bottom left -, then lean that part towards you (away from windshield) and the back end will start to come loose. Pristine mount below left.
Next, took a dremel and just notched out a bit of the mount. I had a false start when I tried to do it near the top, but then realized that there's too much hardware that this part comes up against, making it difficult for the cable to get through.
So, did the same a bit lower on the cover, and it worked out great. Bummer that the scratch was already there, but it's not too noticeable ;) As for the false start, that's hidden when mounted, since I didn't go too deep.

|
|
Final result (note, I'm smoothing out the notch with a small file shortly, just cuz perfectionist ;) ).